|
|||||||||||||||||||||||||||||||||||||||||||||||||||||||||
|
|
|
Llandow Trackday 5th September 2009 The JPSC sorted a great deal for members on this trackday, run in conjunction with Complete Kit Car and Omex Technology, with an all in cost of £60 for a full day including lunch! This was too good an opportunity to miss, so I booked up straight away. I left at 6.30am, travelling in the Mojo, and filled up the tank (and an additional jerry can) just before arriving at the track at 9am. After signing on (where we were allocated into 4 groups according to track experience) there was an opportunity to catch up with lots of familiar faces in the Paddock area where we were all parked up. There were a good number of cars with Sylva origins which was great to see. It was also good to catch up with Adam Wilkins from CKC, who had brought his Riot SE along. After an entertaining briefing, we were sent out in sessions with drivers in our same group. Experts were sent out first for 15 mins, then the upper intermediates, then lower intermediates (where I ended up), then the novices. Each group was given 2 yellow flag laps in which to familiarise ourselves with the track (no overtaking) and then we were allowed to get on with it! We then repeated the whole procedure such that we'd all had two 15 minute sessions by 12.15, at which point we given an open pit lane session until stopping for lunch. The open pit lane system basically meant that the groupings no longer made a difference, anyone was welcome on track, up to a maximum of 10 cars at a time. An orderly queue then formed at the pit exit, with a traffic light system to release one car at a time as and when a car returned to the pit lane from the track. The track itself is very entertaining, especially given that it doesn't look that interesting from a track plan:
The Bus Stop / Devil's Elbow section is tight and twisty and takes quite a while to find a good line. It also presents a good opportunity for sliding the car around a little bit more - there were a few spinners in this section, including myself! Only did it once though! Once through this section (all in 2nd gear), Nook bend is taken in 3rd gear, then up to 4th on the Hanger Straight to the chicane before Jack's Curve. This chicane could be taken surprisingly fast, especially if you rode the kerbs (which I didn't!), followed by pretty much full throttle in third through Jack's Curve. The Glue Pot is one of those corners that looks much tighter than it is, taken in 3rd, opening out significantly on the way through, enabling you to get on the power early for the blast down the (bumpy) Paddock Straight. You could just feel the tyres spinning up slightly over the bumps, before hitting the brakes over yet more bumps to complete the lap. Great fun! During the first open pit lane session, I took Alex Hayes out for a ride, as he'd come down to sample as many cars as possible prior to taking the plunge and buying something in the future. I nearly made a fool of myself by forgetting to pull down my visor as we pulled out onto the track, then went to pull it down as we entered Nook Bend on cold tyres. Just at that moment the Mojo decided a little bit of excitement was in order, and kicked the back end out, leaving me with only one hand on the wheel! Thankfully I held it together, even though we did seem to have a rather large twitch towards the infield... proof that the Mojo won't spit you off at every opportunity! The other main moments of 'excitement' were Rich's silver Elise doing a poetic spin at the Bus Stop (my earlier spin had been right in front of him, so he was clearly getting his own back!), and then a Striker getting a big tank slapper right in front of me through Nook. Thankfully I saw things developing soon enough to be able to back off gently, watching the helpless Striker exit rearwards and nudge the barrier. The session was stopped, but thankfully the damage to the Striker was limited to fibreglass, and it was back out on track soon enough! During the afternoon I had some fantastic times on track, including plenty of time close to Tom & Michael's 2 Mojo SEs; it was great to follow them around the circuit. Michael's car in particular was proving to be very evenly matched to mine, despite him being in a 1.6 zetec, and with a passenger! I was able to gradually close up, but very gradually indeed! It made for great fun. I also had a good time following a crossflow engined 7 late in the day, this was shod with fairly skinny rubber, and it was a joy to see it being hustled around the circuit at a fairly surprising pace. We were very lucky with the weather, it had been cloudy for most of the day, and some occasional light misty rain was blowing in, but the track never became wet until about 4.45, 15 minutes before the track was due to close anyway. About 5 minutes before that, the Mojo had just started to occasionally cough through the longer bends, which I realised was caused by fading reserves of fuel in the tank (despite already having used the spare fuel)! So at that point I decided to call an end to the track driving, said my goodbyes, and headed off home, filling up the tank ASAP! The car ran well all day, including the 130 mile run home. The only problem I had was losing 2 out of 3 of the magnets for the speedo sensor pickup, which randomly decided to part company at some point on the track! 3 videos from other participants: Crispin following me in his Fury Cosworth:
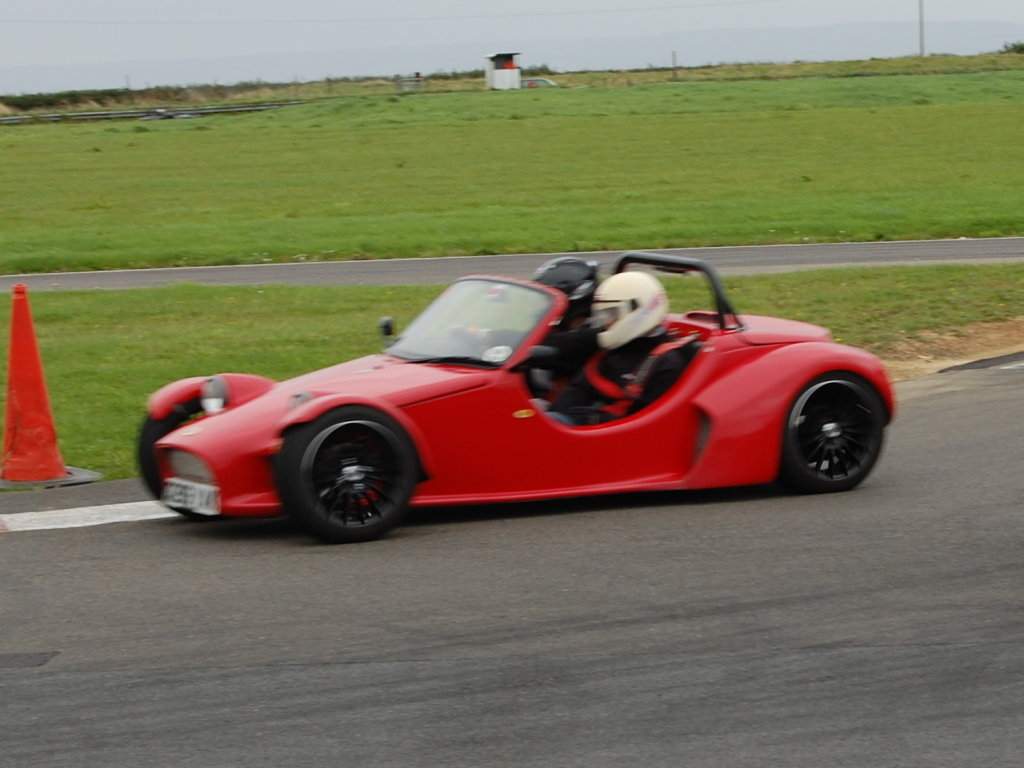
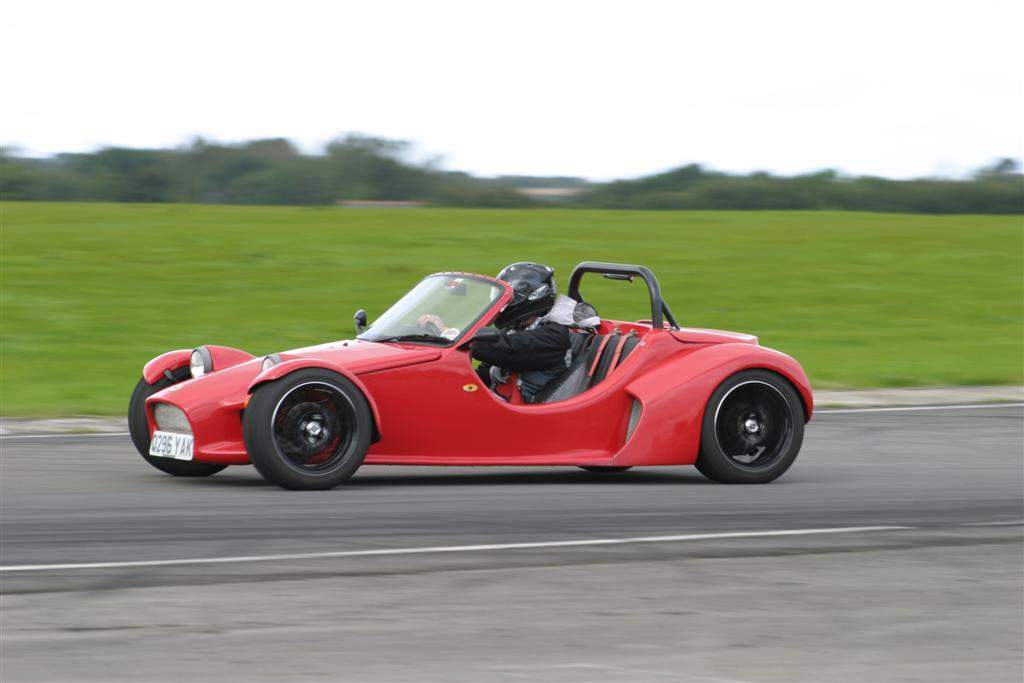
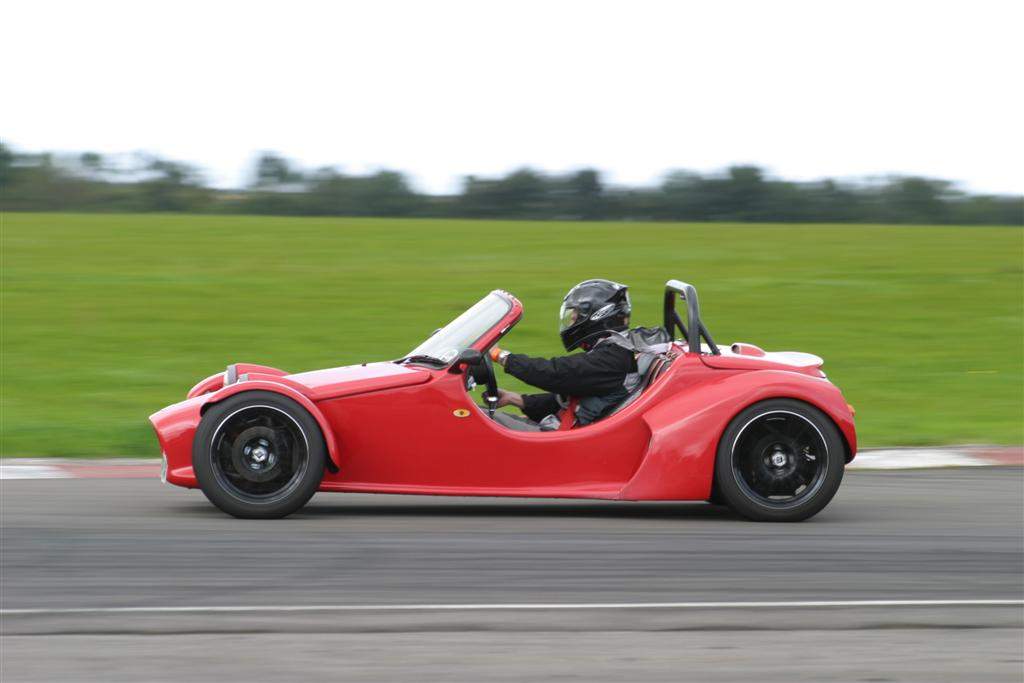
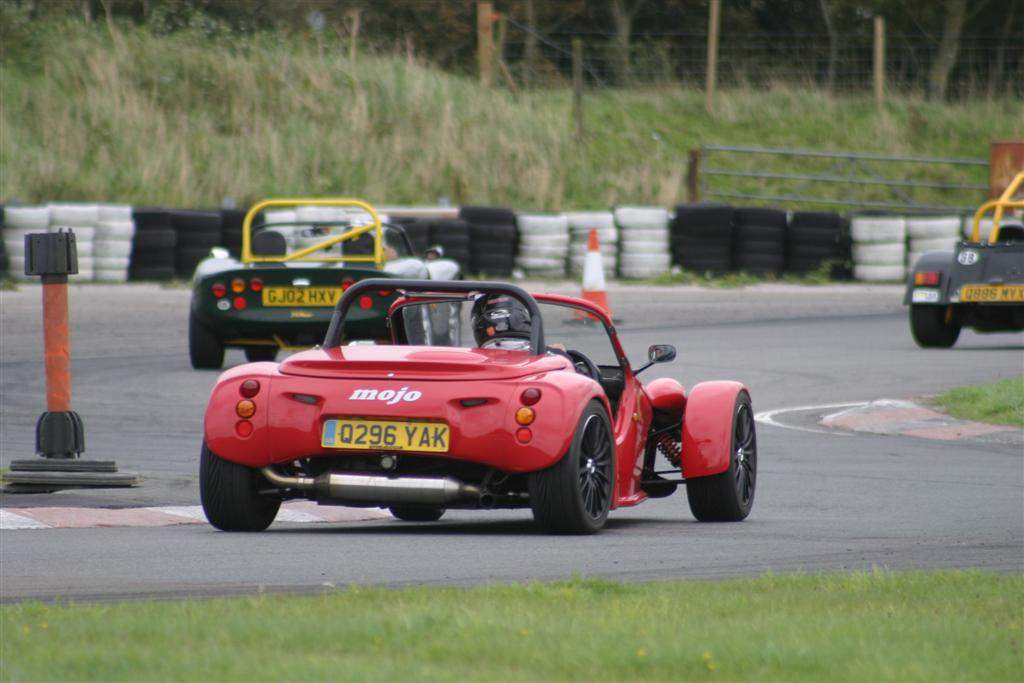
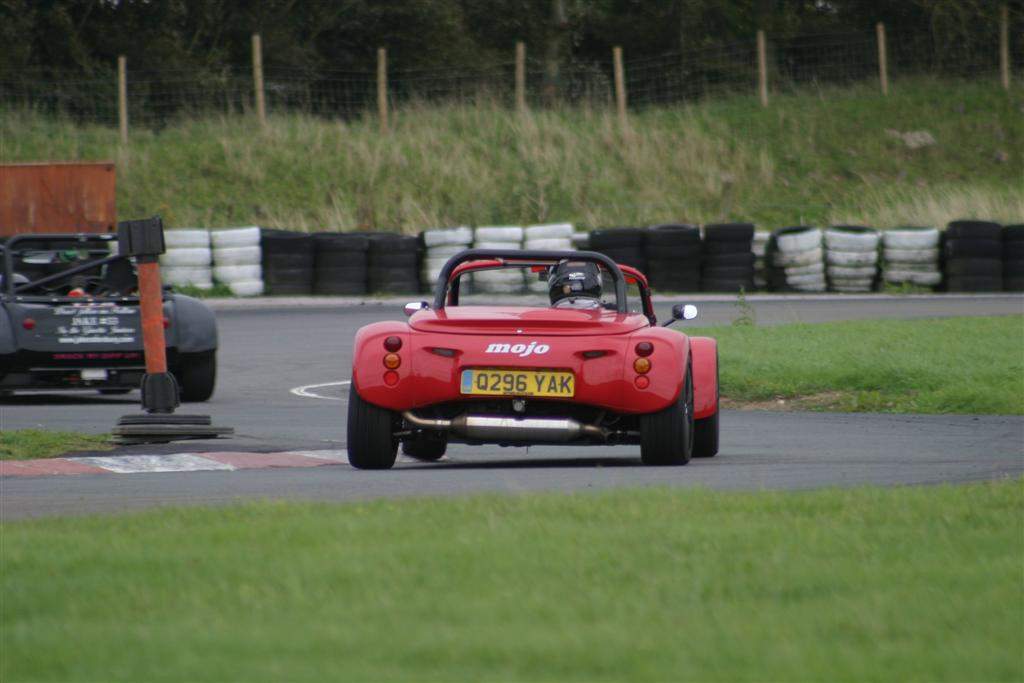
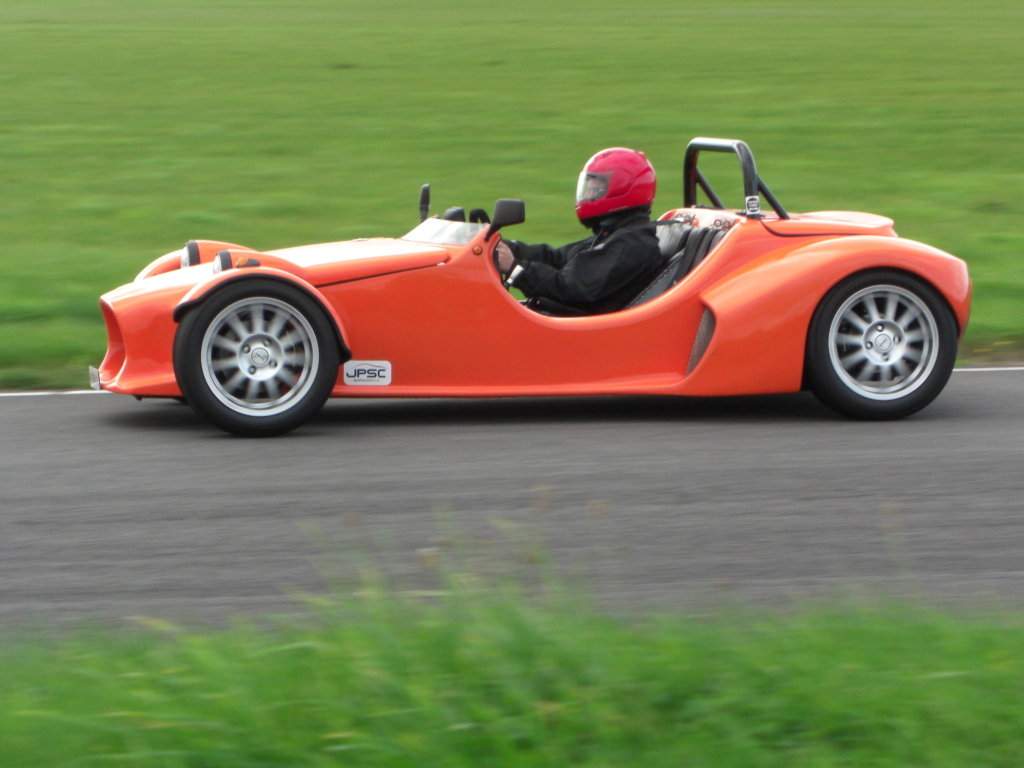
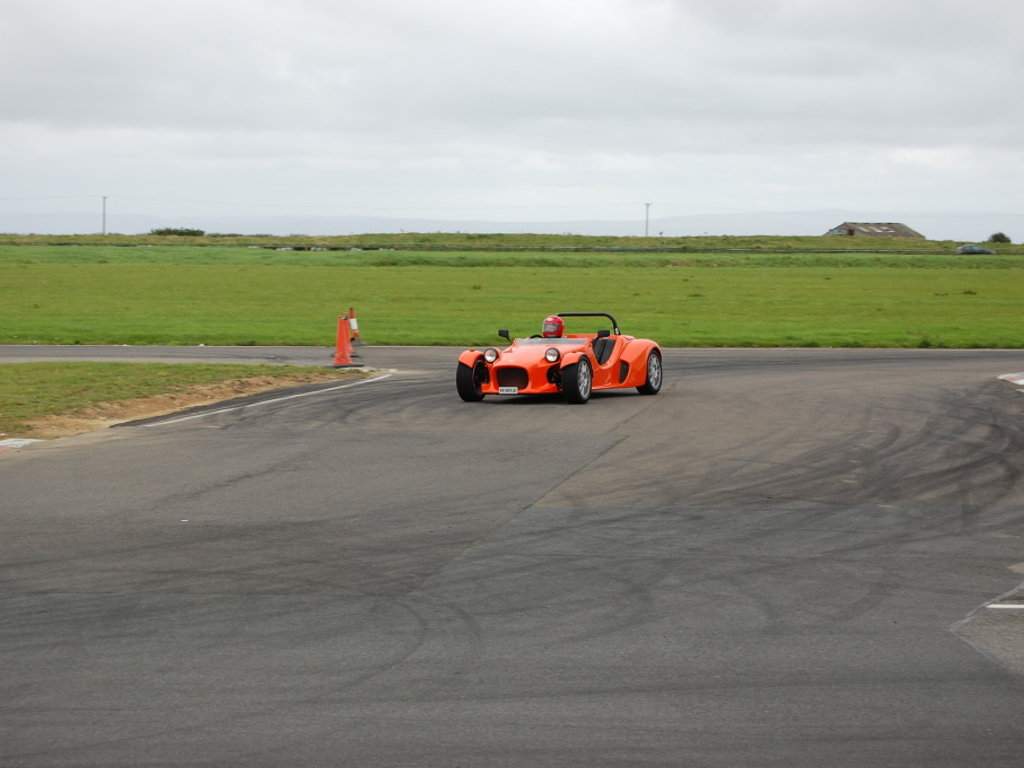
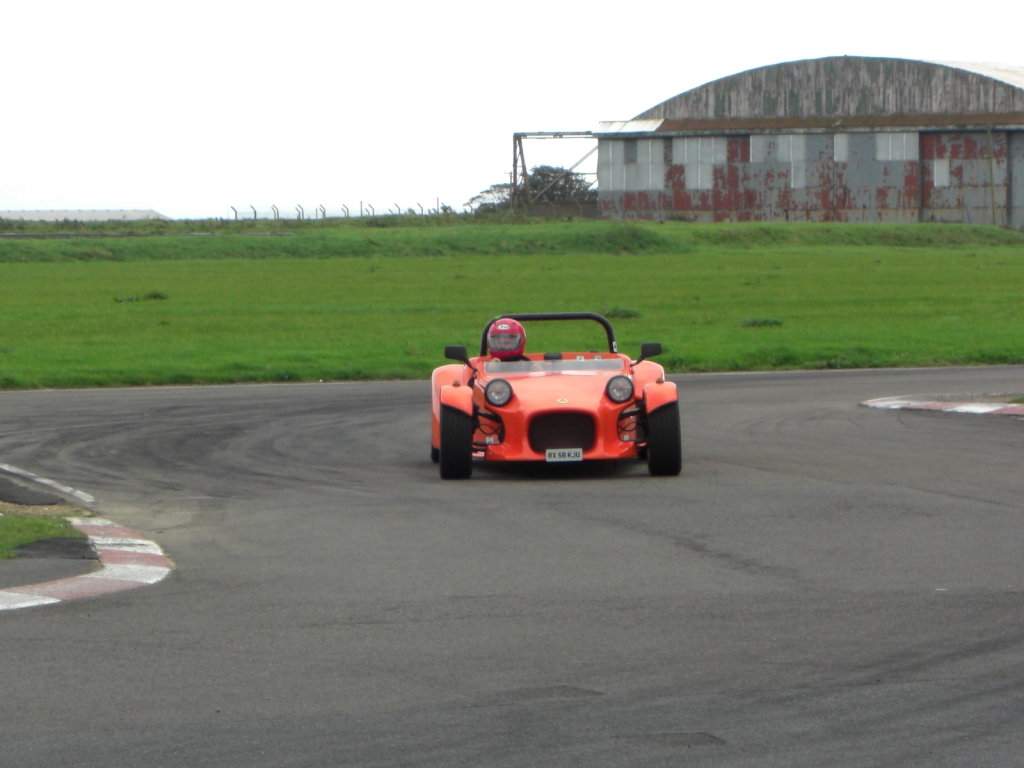
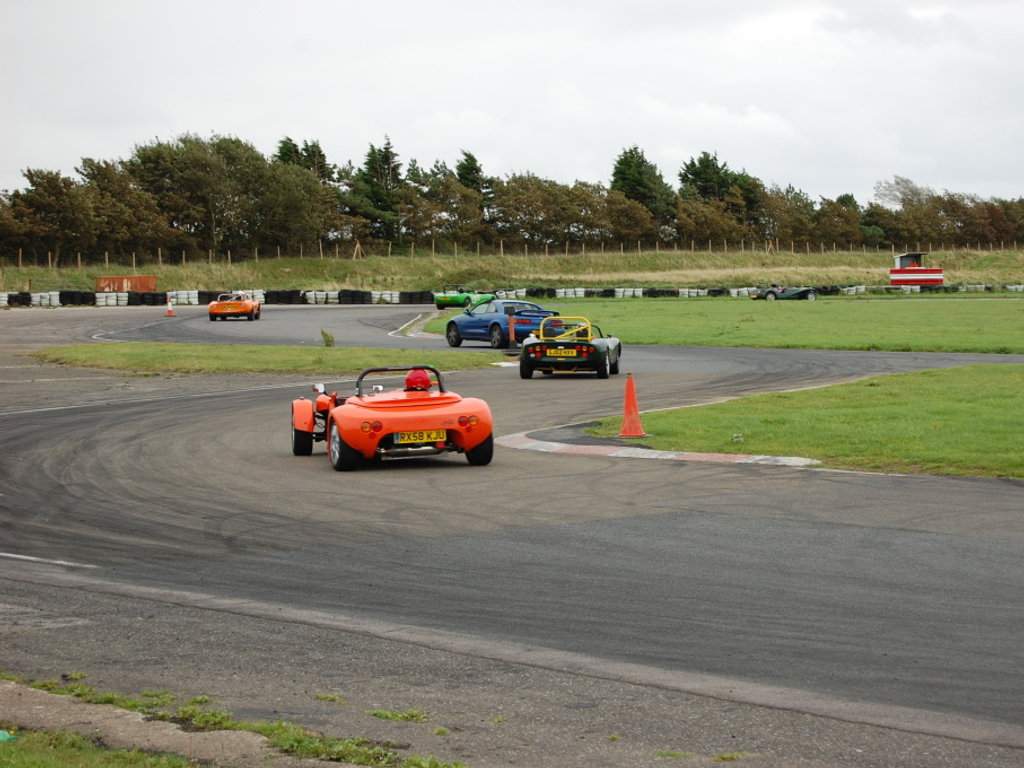
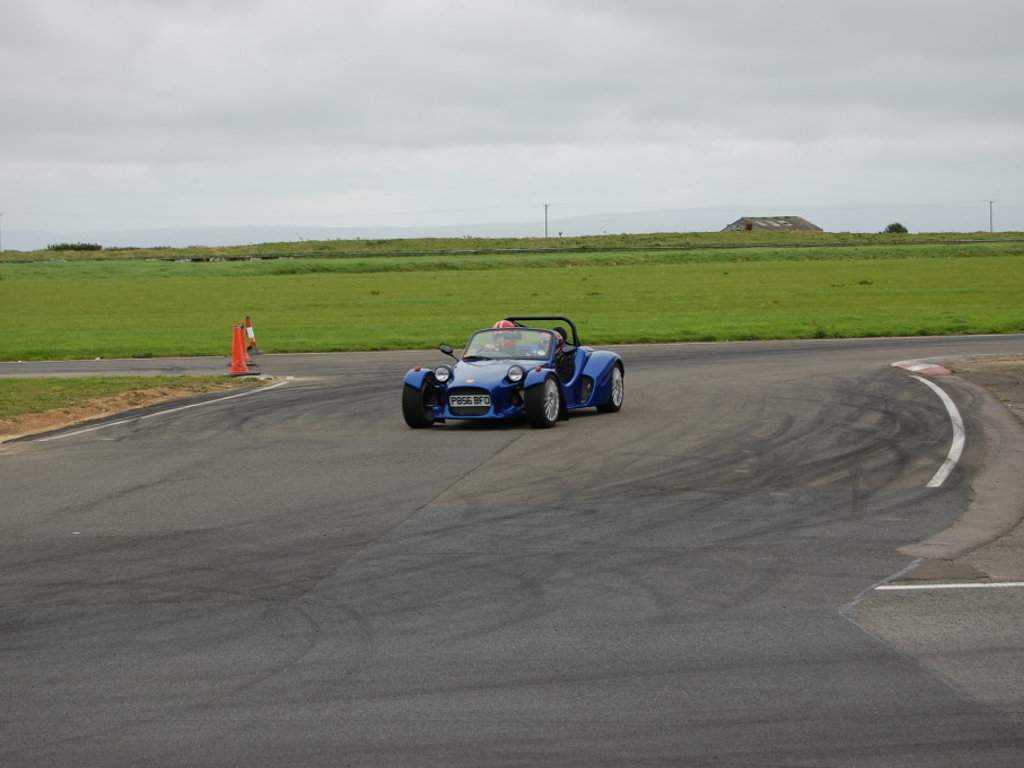
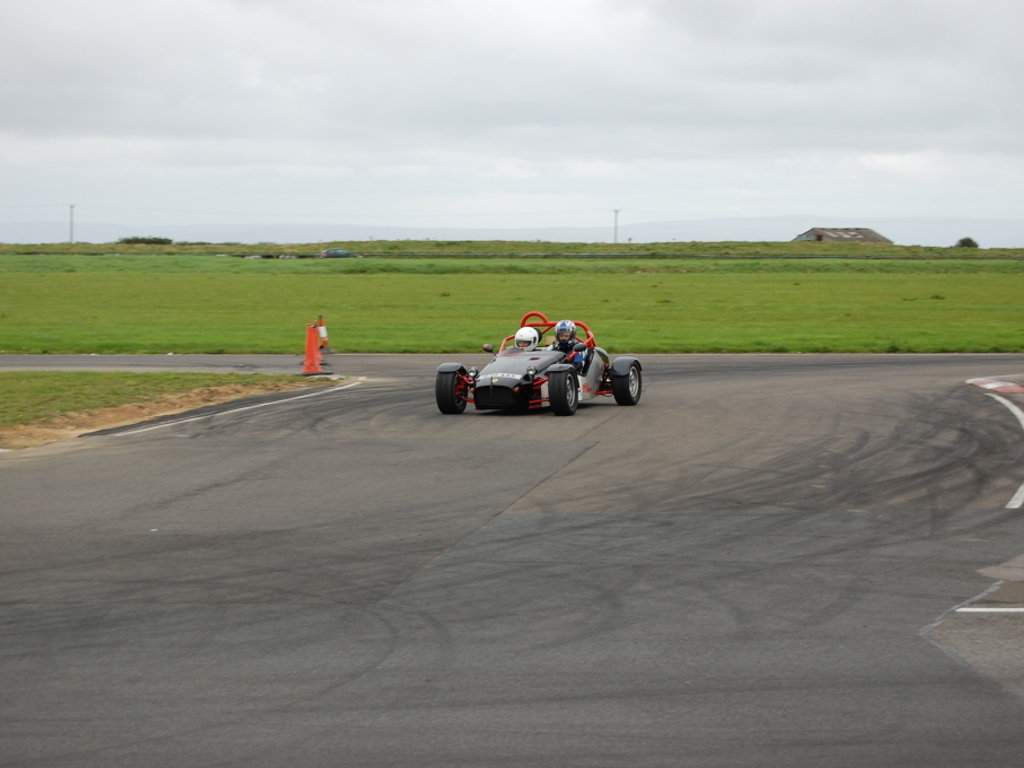
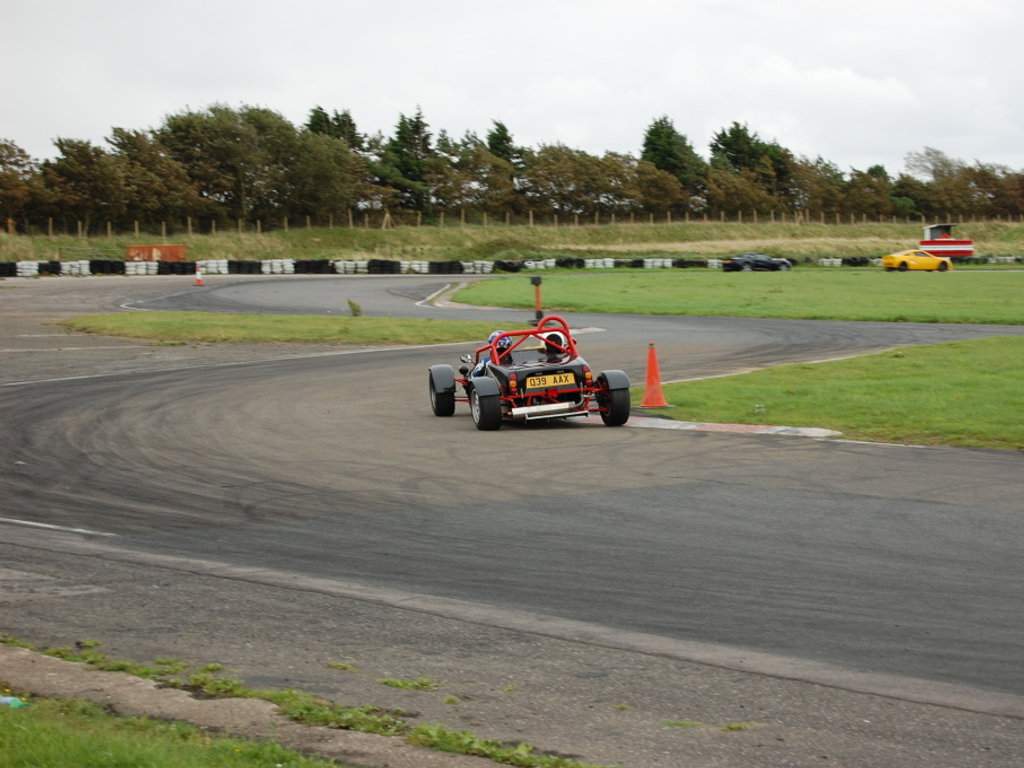
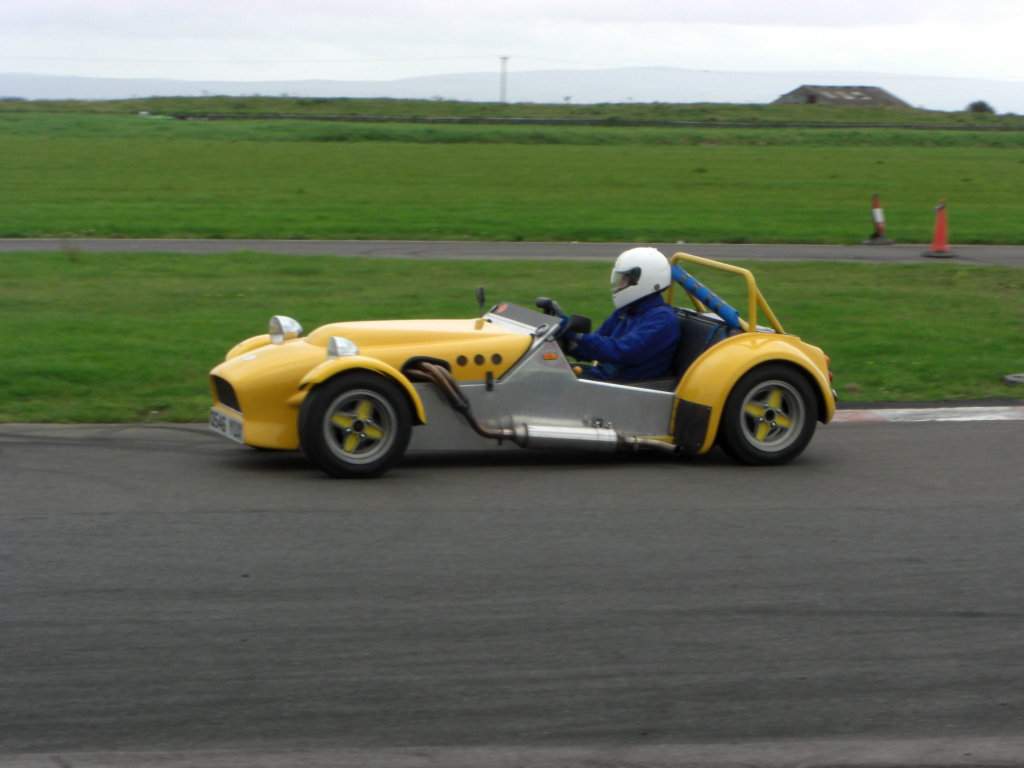
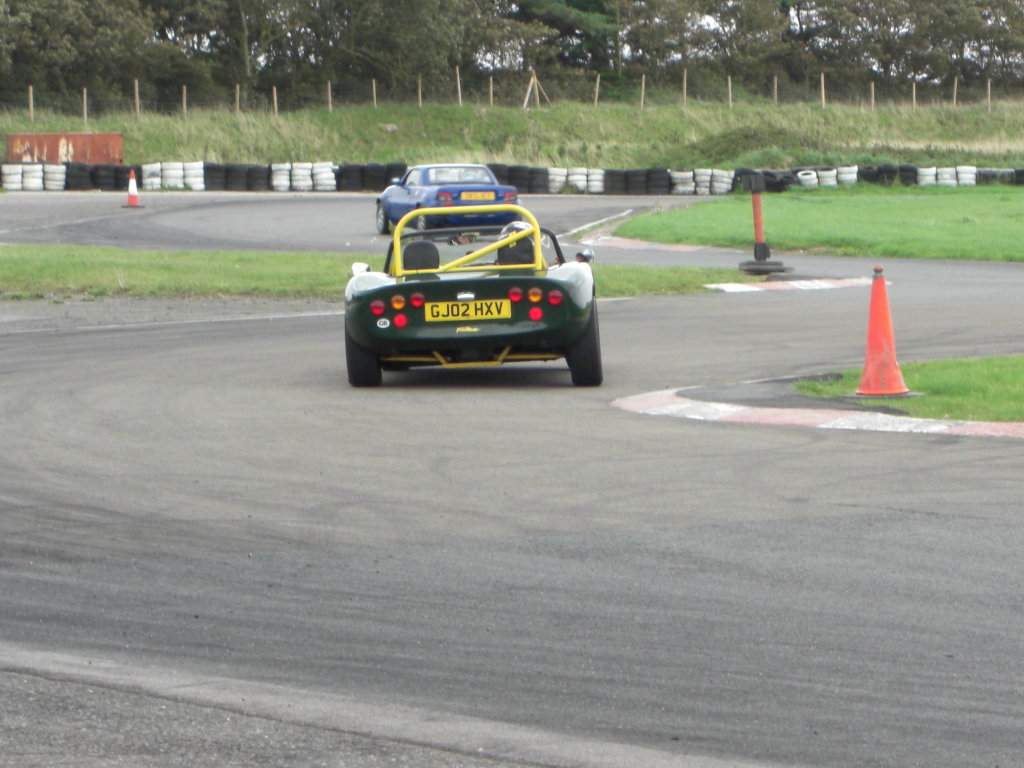
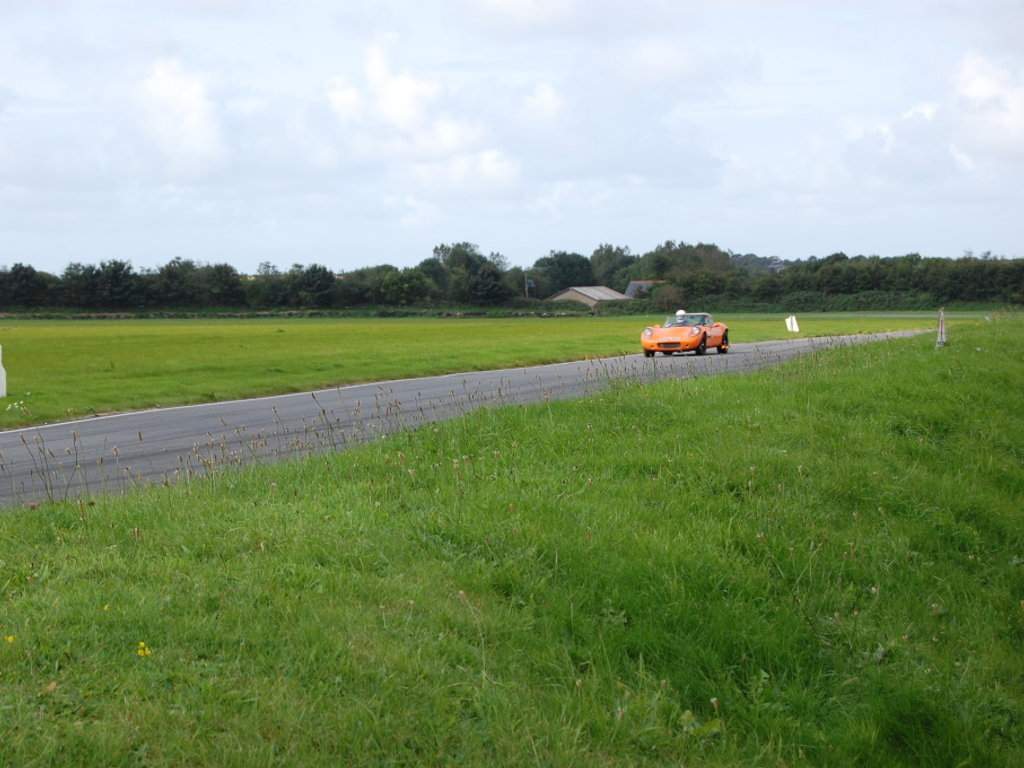
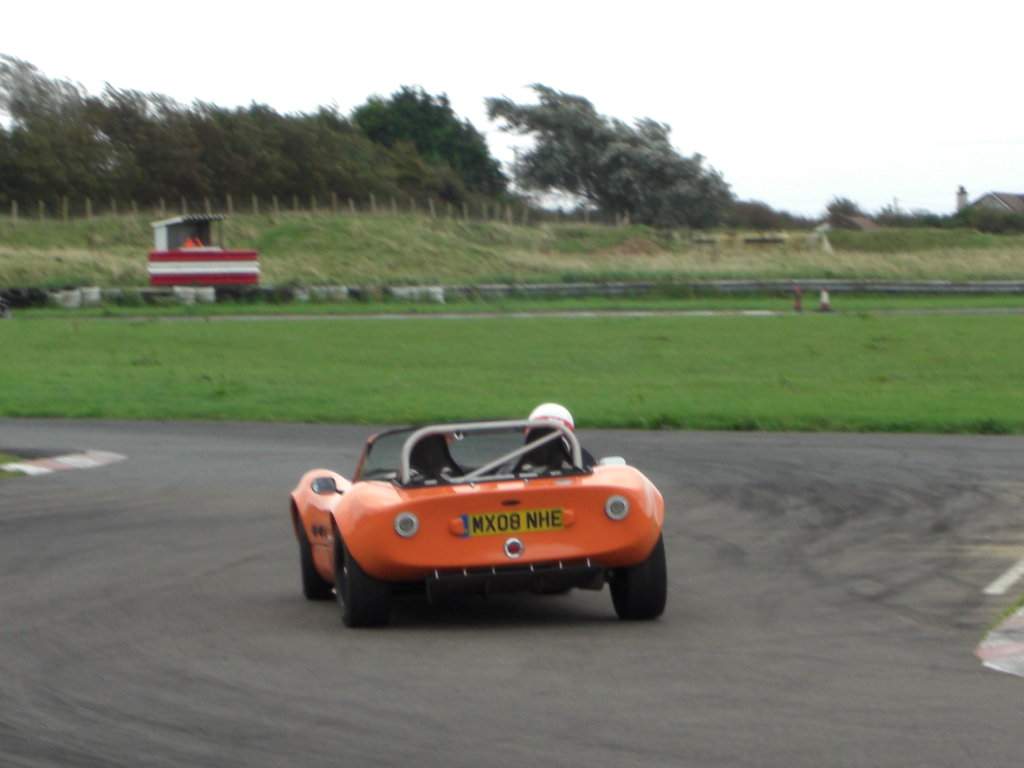
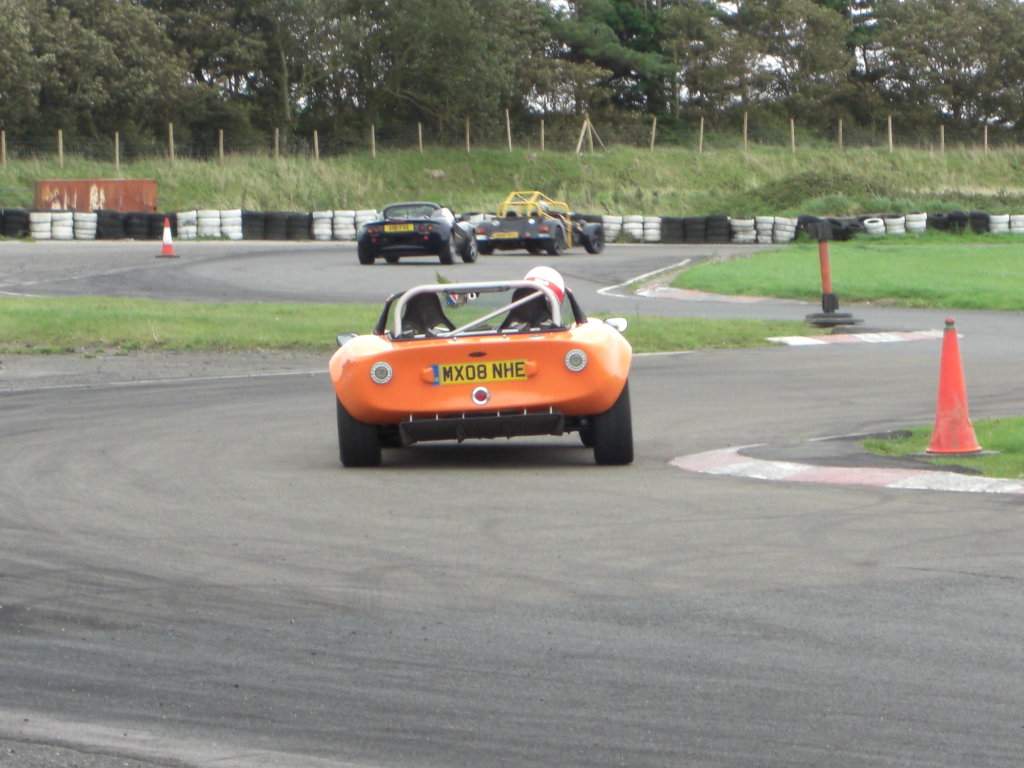
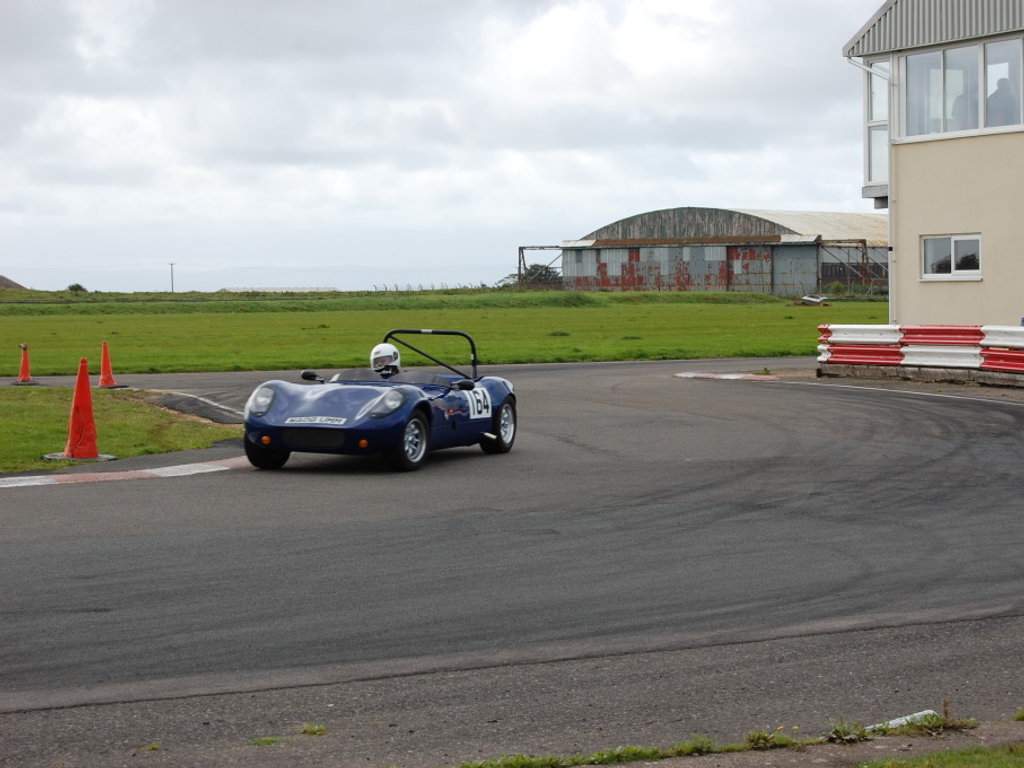
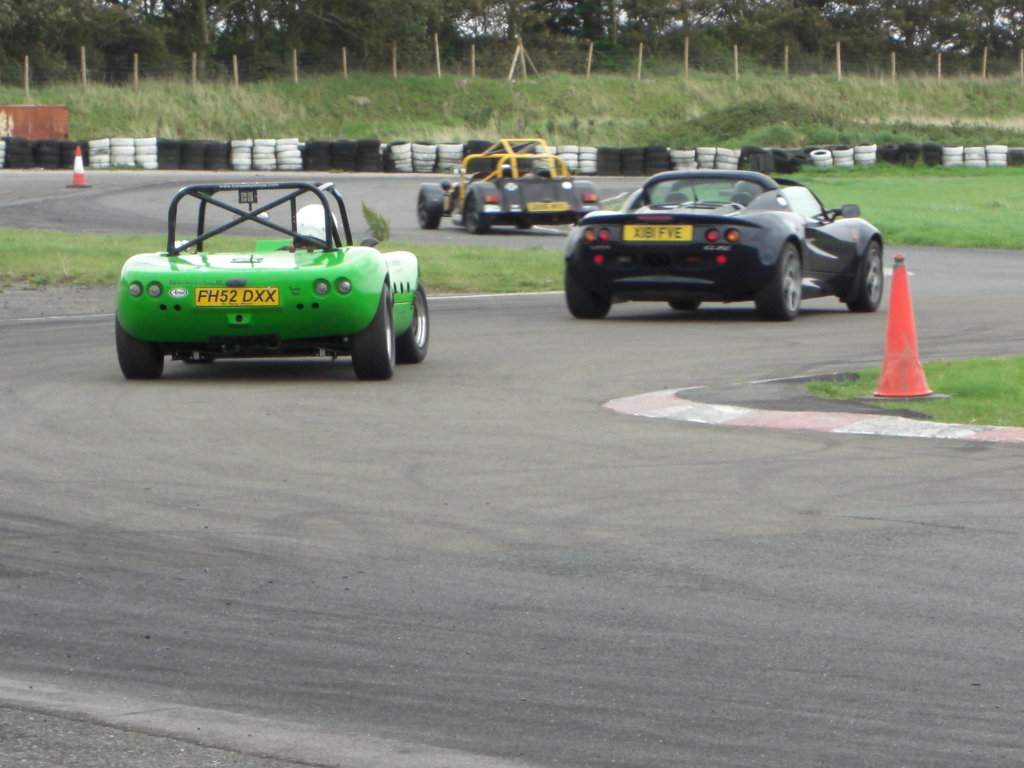
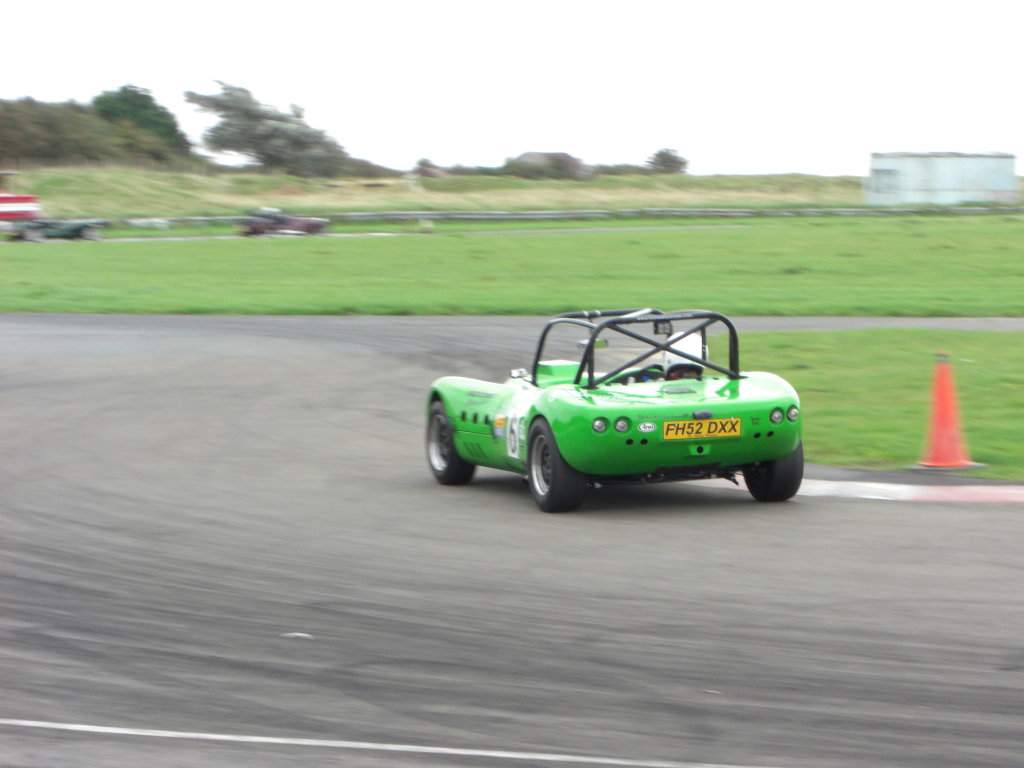
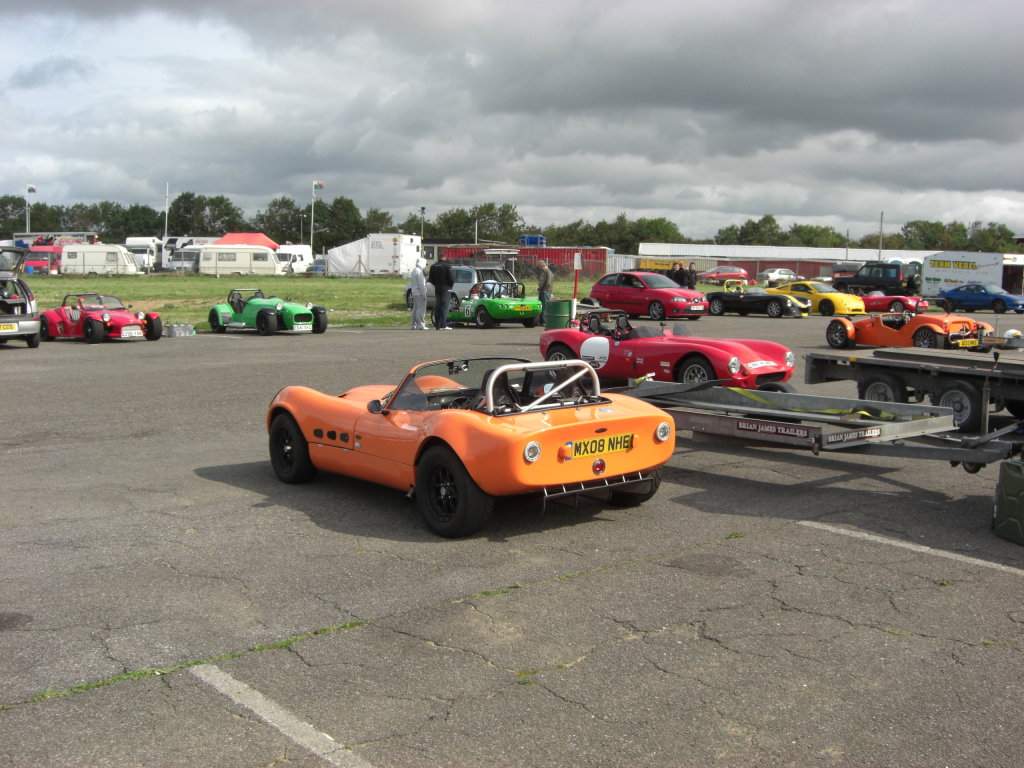
Some pics from the day (with thanks to Pete C & also Complete Kit Car magazine for some of these photos!)
|
|||||||||||||||||||||||||||||||||||||||||||||||||||||||
|
|
|||||||||||||||||||||||||||||||||||||||||||||||||||||||||