|
|||||||||||||||||||||||||||||||||||||||||||||||||||||||||
|
|
|
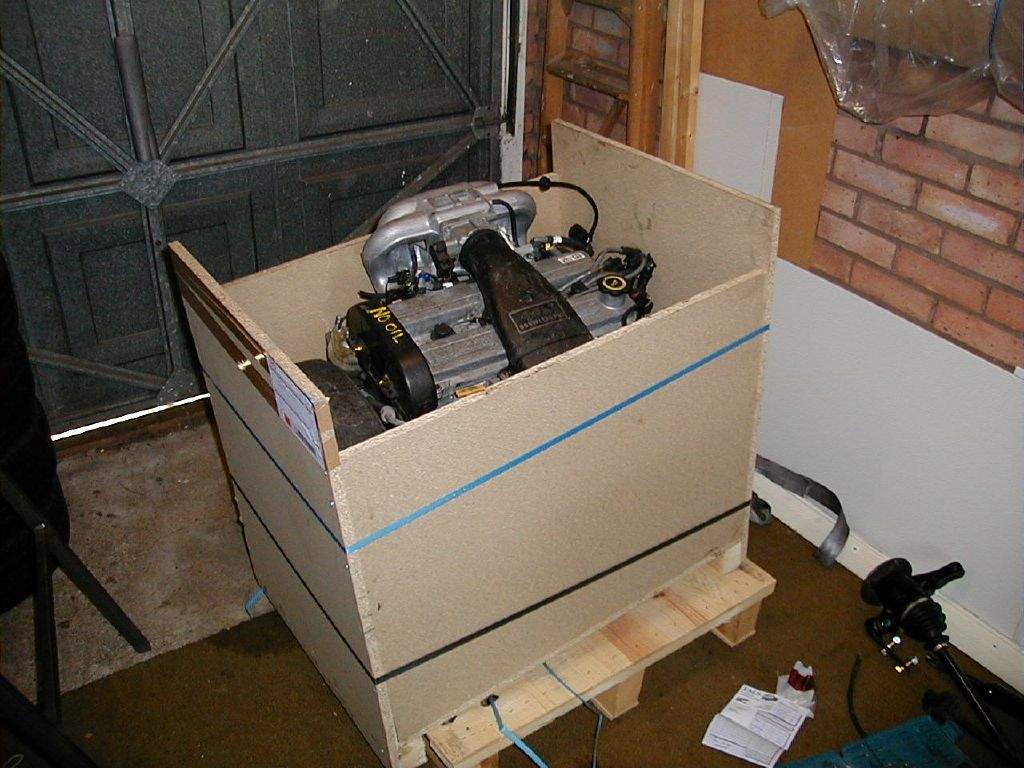
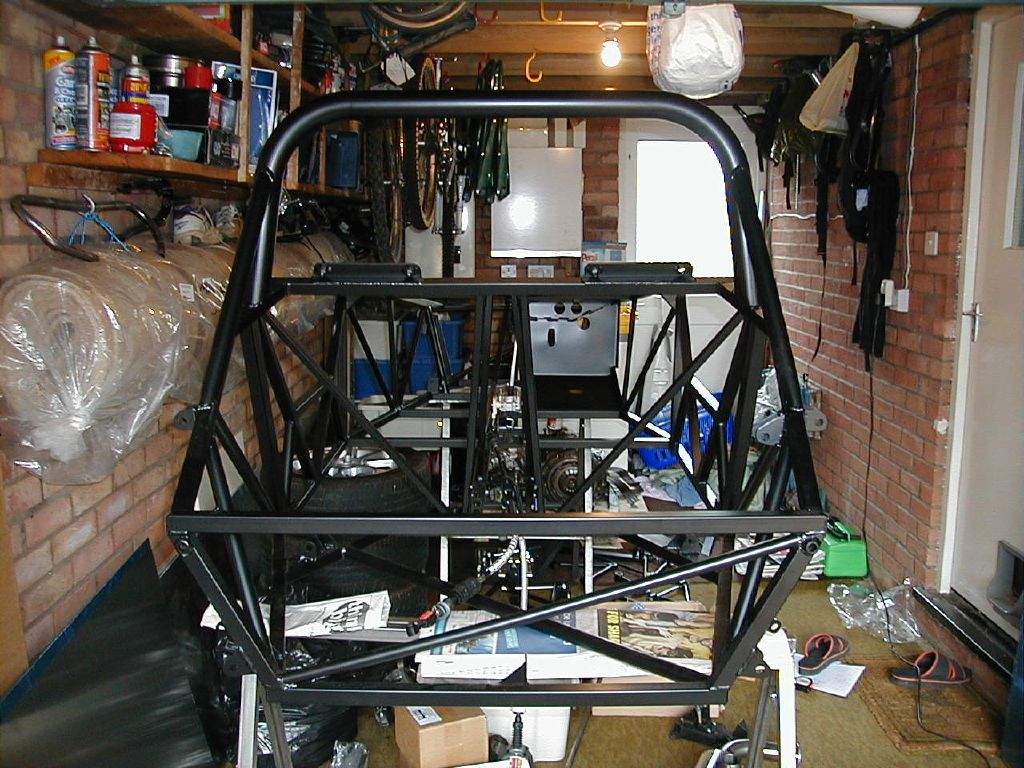
3rd October: 2h00m:
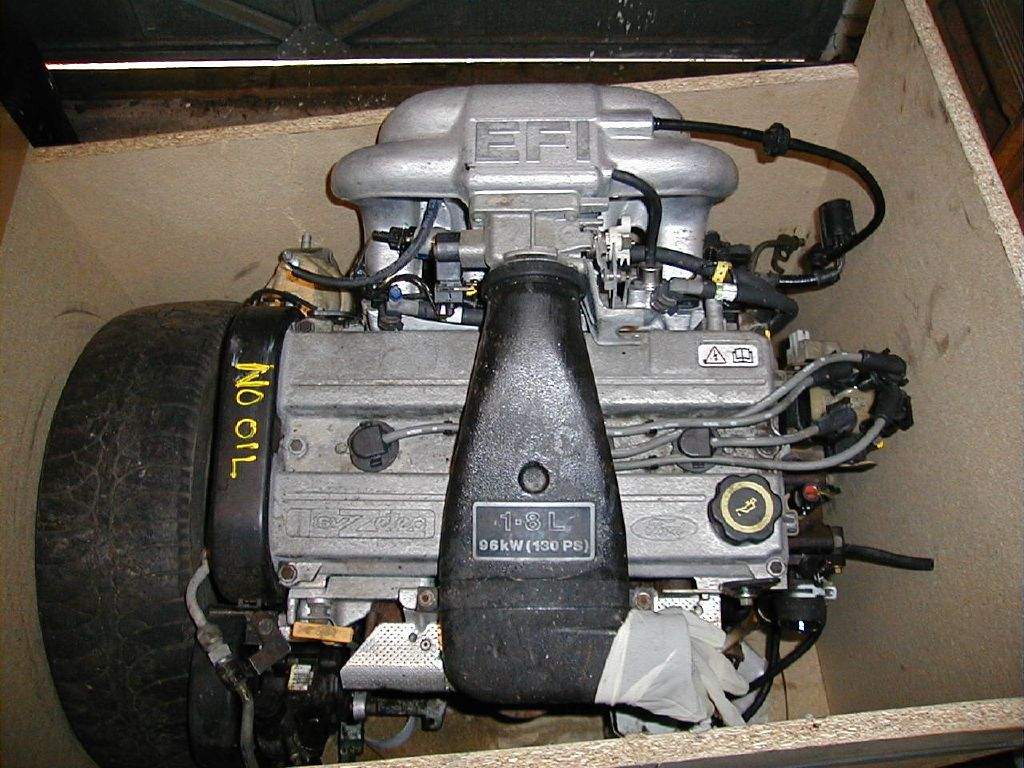
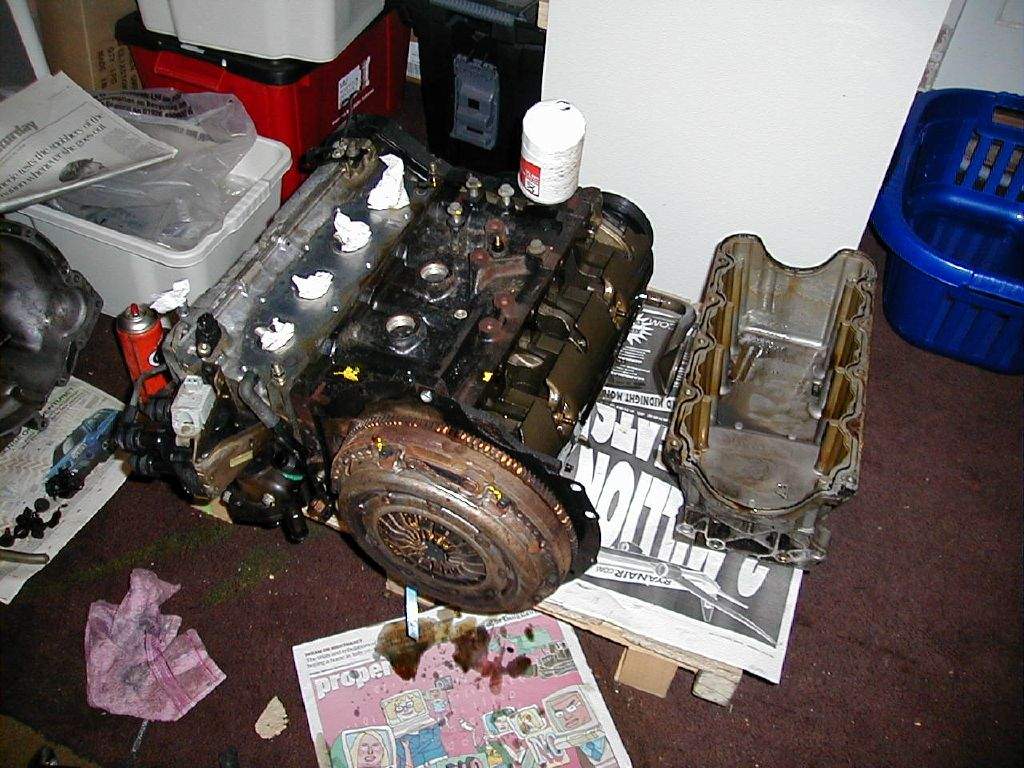
Engine arrived this lunchtime:
After I took the photos I firstly took out the spark plugs to do an initial check on the condition of the engine. Everything looked fine. I then began to strip off the unnecessary bits-
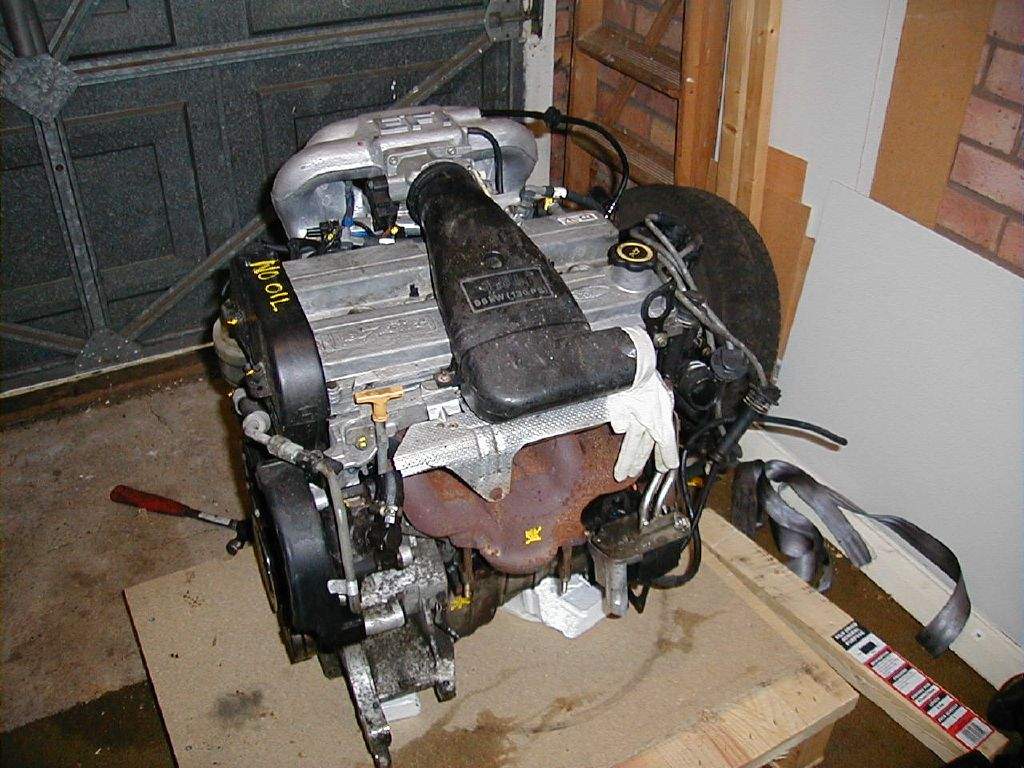
After removing the exhaust manifold it became clear that the engine has a minor oil leak from the cam cover- not a major problem as I intend removing it anyway to check the condition of the cams. Hopefully a new gasket will sort the problem. Further bits will be stripped off the engine in the next few days... 4th October: 1h00m: Removed a few more things off the engine-
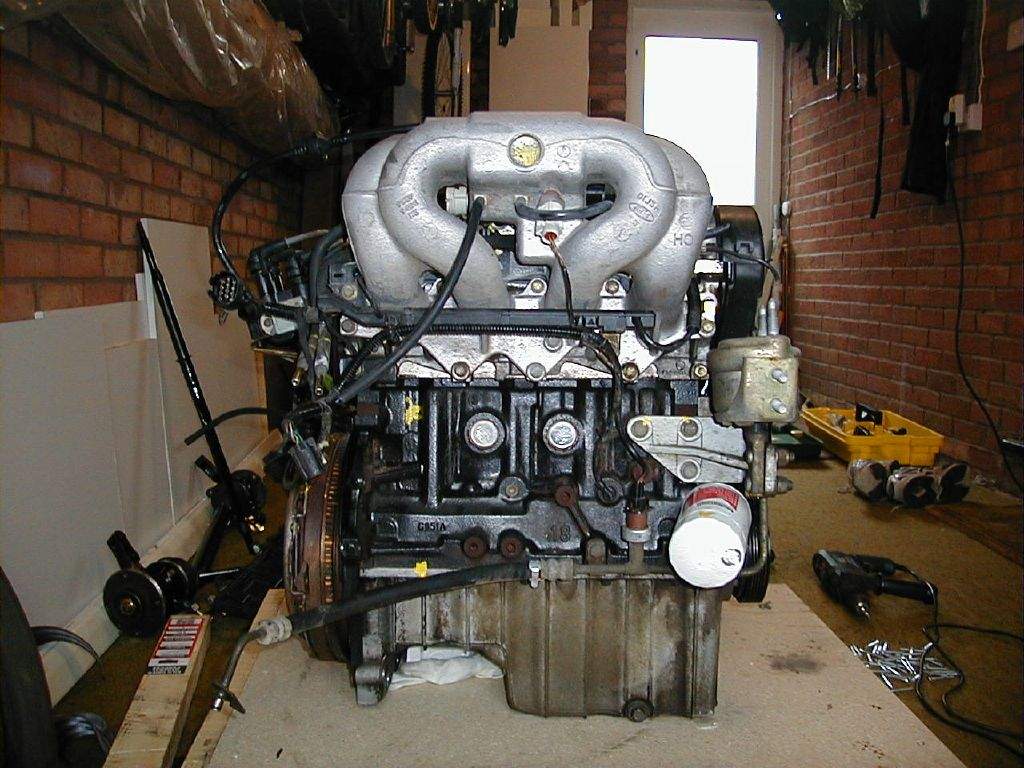
It's actually beginning to look quite small now, as though it might actually fit in the back of a Mojo! Also cleaned up the block, mainly from the oil that had come from the leaky cam cover. 6th October: 0h30m: Removed the sump to take to Sylva on Saturday.
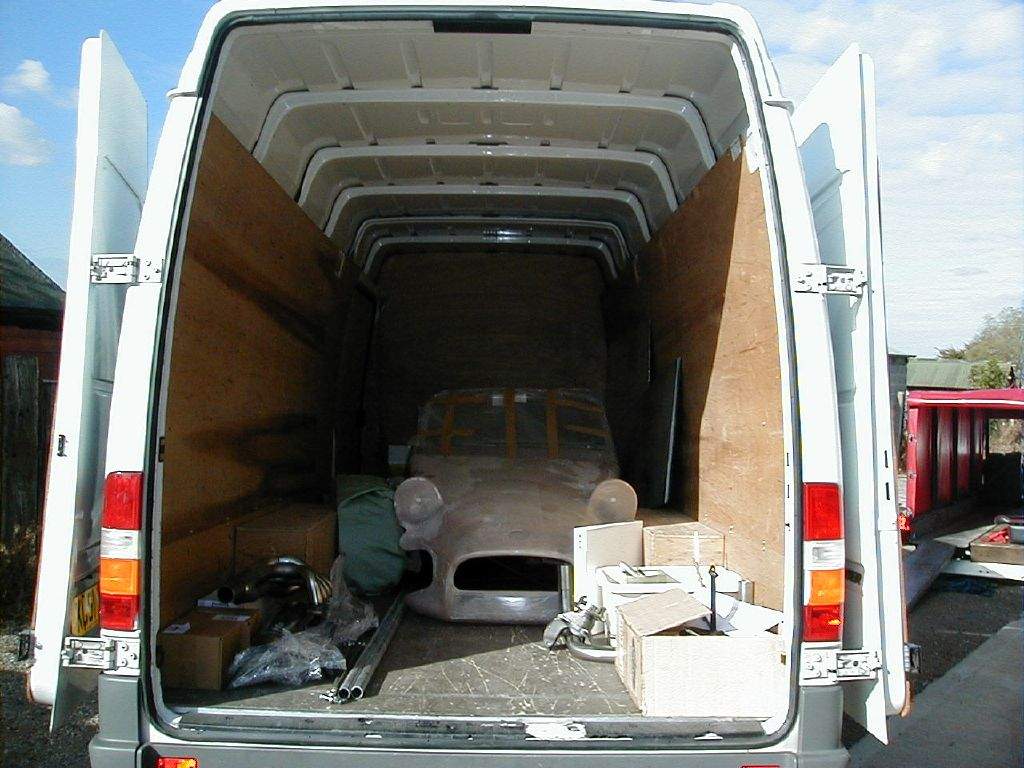
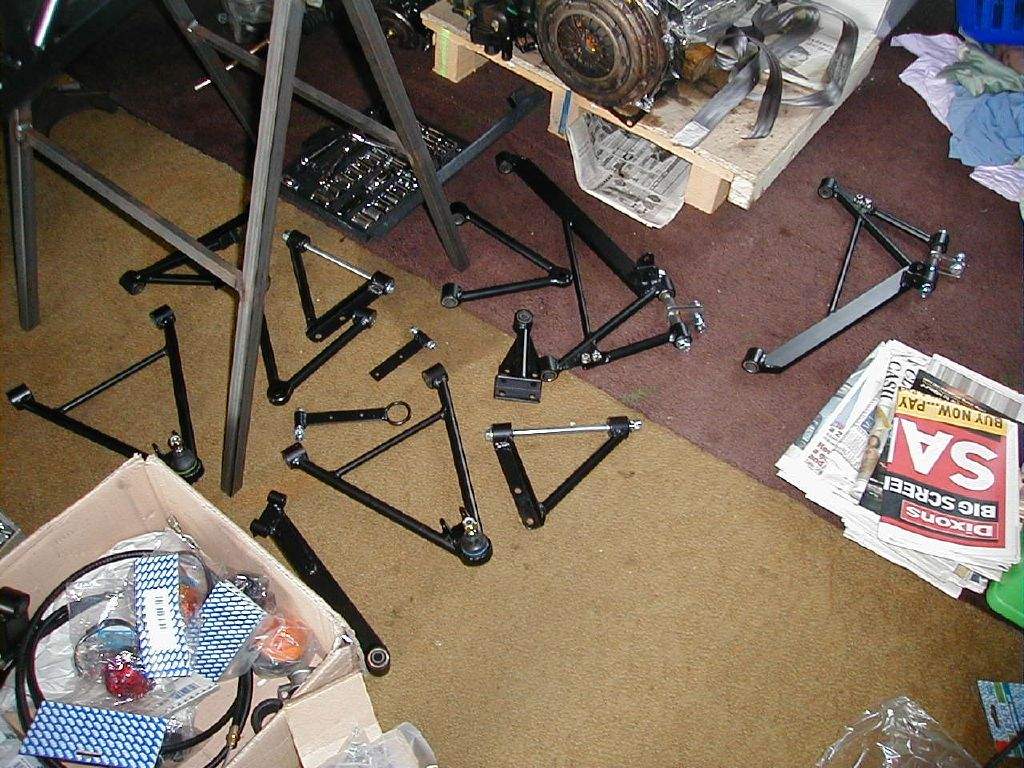
7th October: 0h45m: Cleaned the sump using degreaser, and then rinsed with water and washing-up liquid. 8th October: 0h45m: Finally got round to putting the carb I stripped down ages ago back together using new gaskets and seals. 9th October: 2h00m: Stripped down and rebuilt the second carb. 11th October: Collection day! Set off for Bardney at 8.15am, arriving at about 10am. Jeremy was helping to make some mods to Tony Brumfield's Striker, a very nice bike-engined hillclimbing machine. Gave Jeremy my sump and lower steering column for modification- they will be sent back to me along with a few other items that weren't available for collection on the day. Went through the list of things that were to be taken away, so that we knew what needed sending on, and then started loading. Everything went very easily into the Merc Sprinter. Finally took some pics of a Mojo 2 mid build, for my reference, and had a long chat with Jeremy about gear linkages- the one I have been sent by fms is different to the one Jeremy has used before. It may still work, but requires a bit of ingenuity; other wise I'll revert to Jeremy's normal setup. Since Jeremy's race car is now a pile of bits in the corner of his workshop after the recent crash at Cadwell Park, he loaned me a couple of his gear linkage parts to ponder... Arrived back home and unpacked the van, all finished by about 5pm. Here are some piccies from the day:
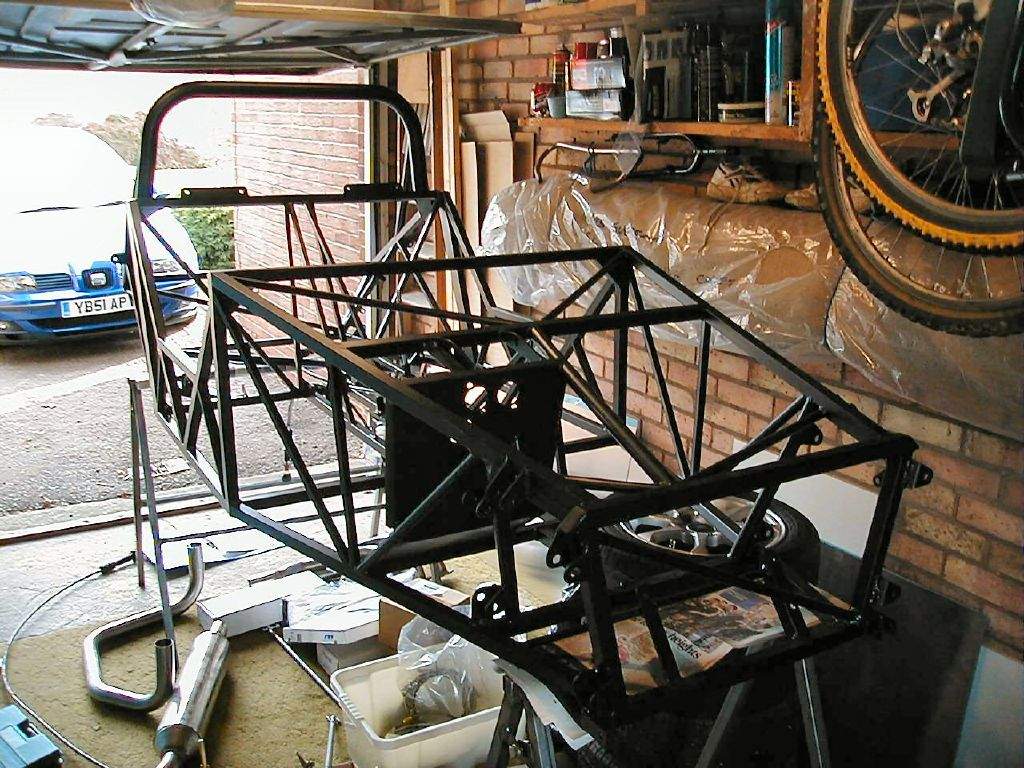
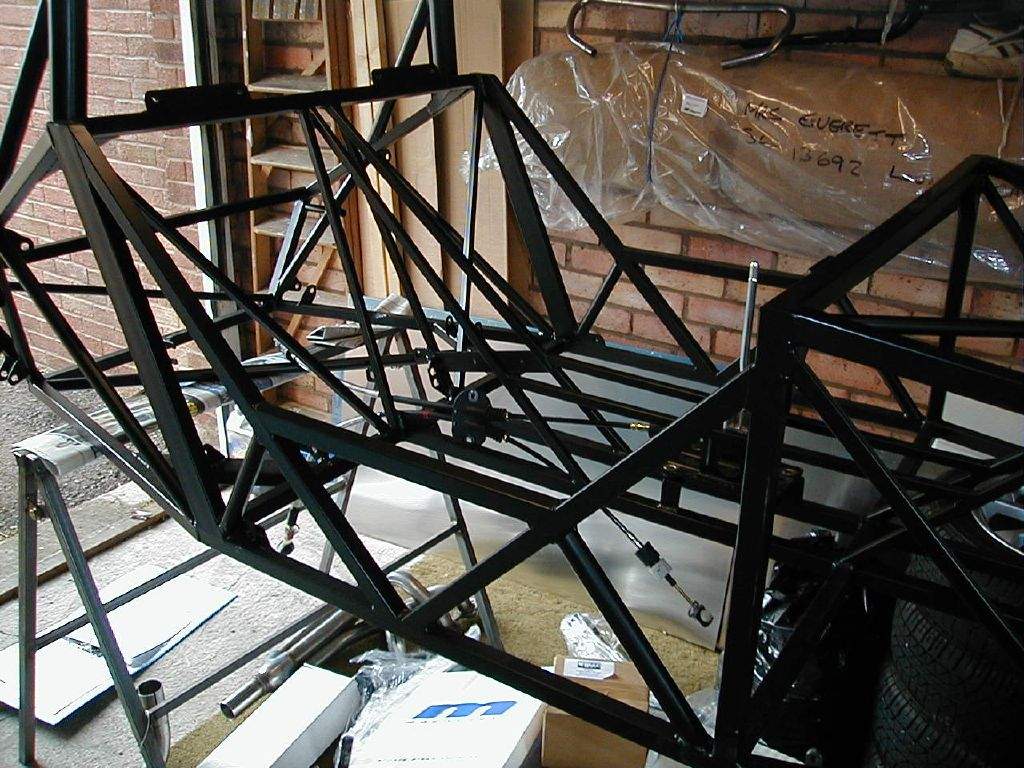
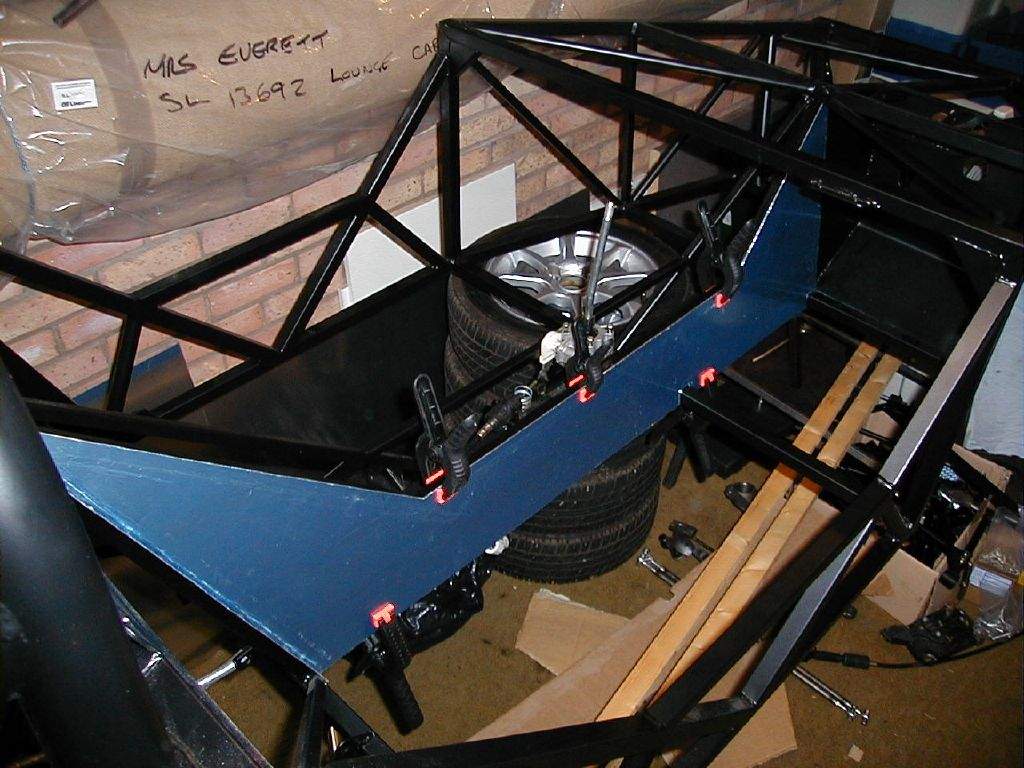
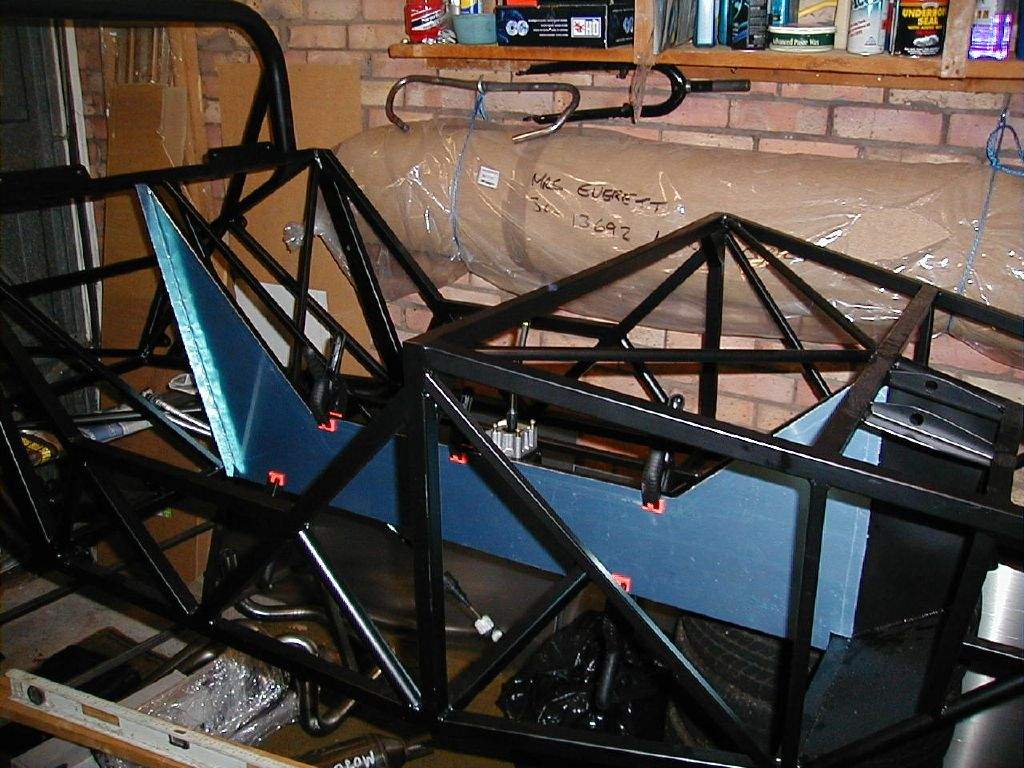
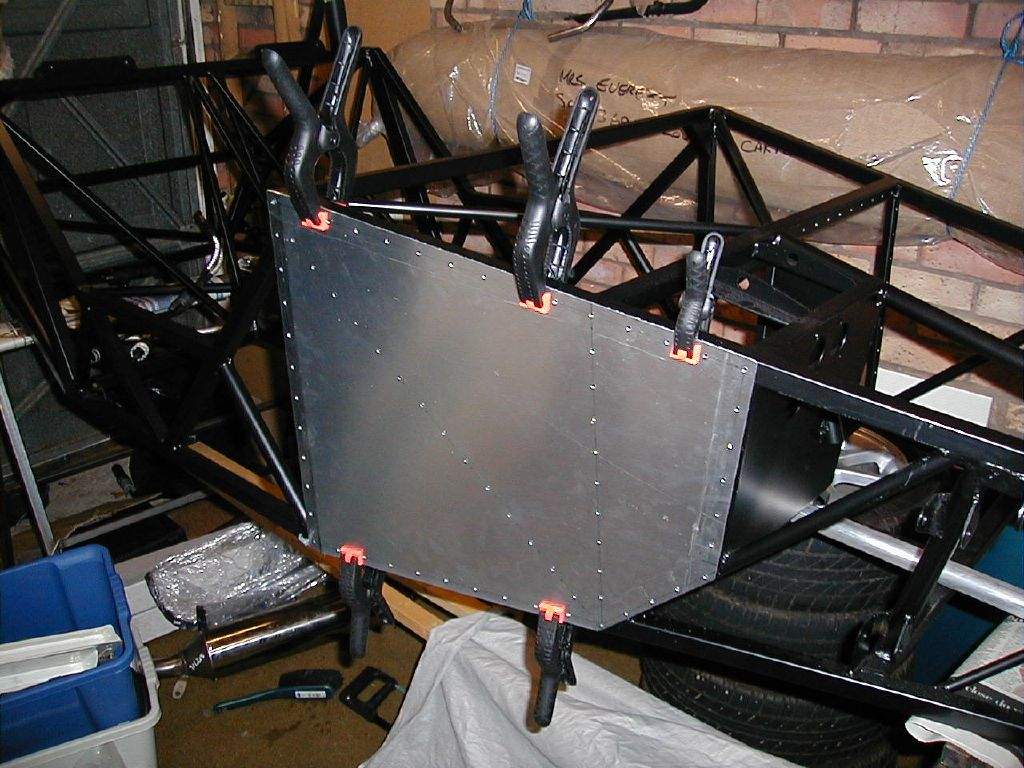
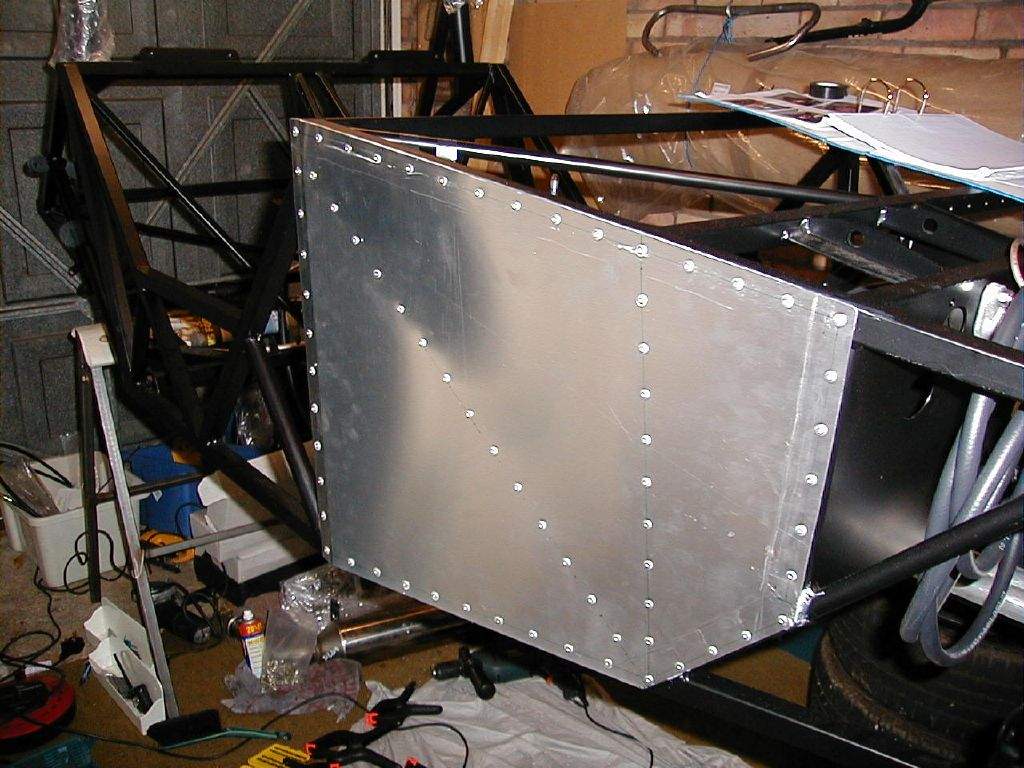
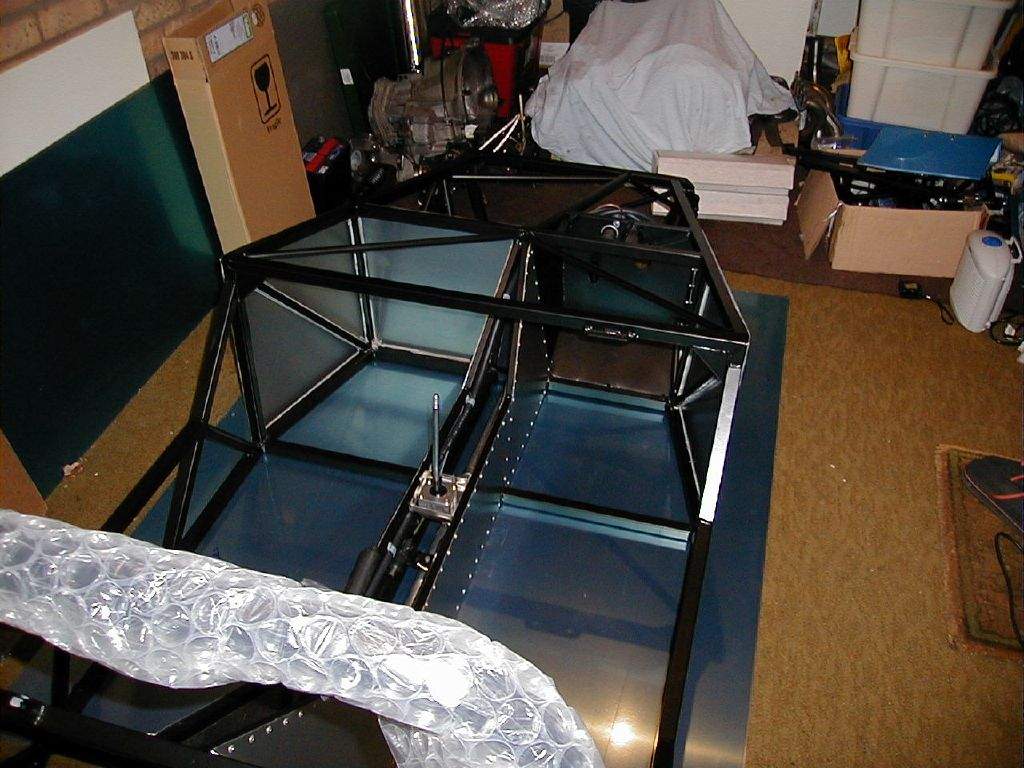
12th October: 6h00m: Spent some time pondering the gear linkage setup, and whether I would be able to use the parts I had bought from fms. Cut out a cardboard template for the first aluminium panel- the drivers side of the tunnel. Transferred the template to the first 18G sheet and cut out with a jigsaw, filed the cut edges, and then made the 20mm fold along the rear edge to wrap onto the rear bulkhead. At this stage I could trial fit the panel... at which stage I discovered my first mistake. Hmmm. The panel fitted perfectly everywhere except along one edge, so there was nothing for it but to start again- frustrating, but I had half expected the first panel to be a pain! Thankfully I could use the first panel as a template for the second attempt, with just the inaccurate cut changed. I cut the new panel out, and then called it a day... 13th October: 1h45m: Made the fold in the transmission tunnel panel, and did a trial fit. This time, things were looking better, but a lot of fine tuning was required around the footwell crossmembers to get a good fit whilst clearing the weld material. Here's the result:
14th October: 2h00m: Spent some more time pondering the gear linkage issue. Disassembled my linkage a little further to see if I could make things work. May have found a solution, but still need to double check clearances with other stuff that runs through the tunnel. Marked out the passenger side tunnel panel, using the driver's side panel as a template. 15th October: 2h00m: Cut out the second tunnel panel, bent the rear edge as before and then spent some time fettling the fit. No problems this time! Pondered the gear linkage some more...! 16th October: 2h00m: Had a new idea for how to fit the gear linkage. It would require an aluminium plate to fit between the top tunnel rails, folded up at the edges to give extra strength. Decided it was definitely worth a try, so began fabricating the plate from 18G. 17th October: 4h00m: Trip to the scrap yard for the Sierra steering column outer that I foolishly left behind a few weeks back. Stopped off at the local Ford dealer to order a few bits and pieces. Continued finishing the gear linkage plate. This was a fiddle as two cut-outs were required, plus 4 holes for mounting the linkage.
18th October: 4h00m: Marked out & cut out the passenger footwell end panel, then marked out and centre-punched rivet holes. Clamped into place and then did my first chassis-drilling- scary! All went well, I then removed the panel and de-burred the holes with a hand-held 6mm drill bit.
19th October: 2h00m: Marked out the driver's side lower footwell outer panel, then centre-punched, drilled & de-burred. I'm not riveting the panels in place yet as it's best to do the tunnel panels first, and these are best left until after sorting out the routing of some of the stuff that runs through the tunnel- mainly the radiator pipes, but I may also sort out the rear brake line, fuel line and heater hose (I'm intending driving the Mojo every day remember!) at the same time. Trouble is, the radiator pipes should be bent to suit the top and bottom hose of the radiator, and I don't know which radiator I'm going to use yet... So I'm stuck in a bit of a vicious circle!
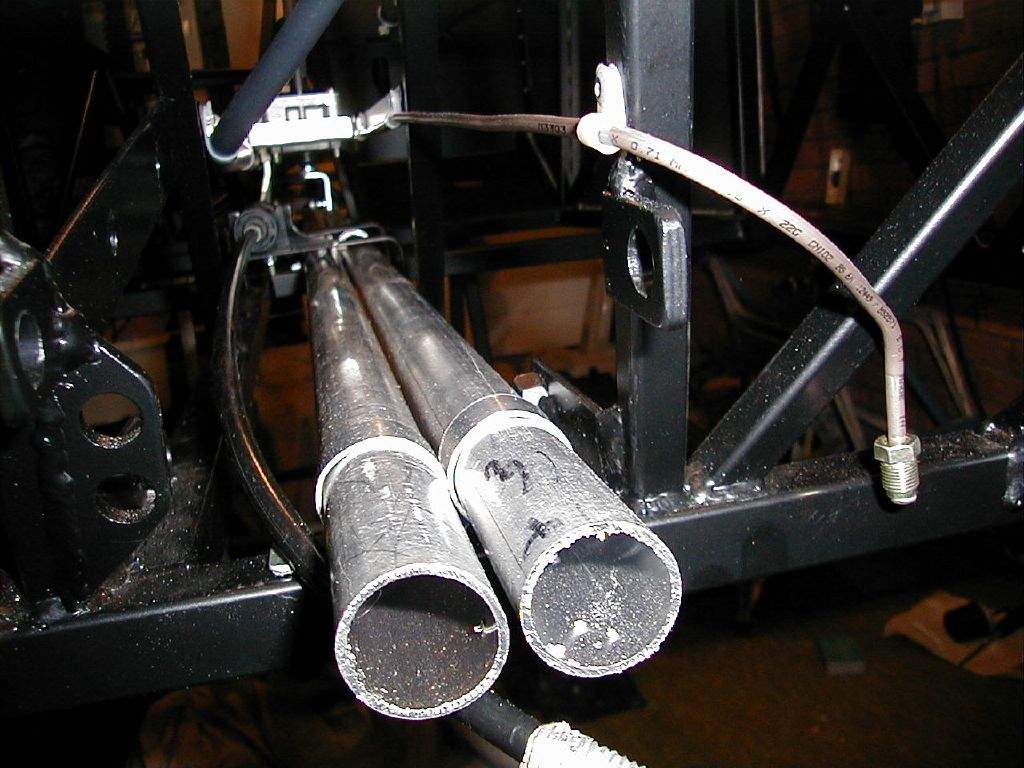
20th October: 0h00m: Collected my rivnut tool, plus picked up some plastic P-clips from Maplin. I'm only counting hours spent in the garage, so ZERO hours today! 21st October: 2h00m: Decided to fit the radiator pipes using rivnuts so that the tubes can be removed later for appropriate bending. Fabricated some aluminium P-clips from scrap 18G plate, then fitted my first rivnut. Can you feel the excitement? 22nd October: 3h30m: Finished securing the radiator pipes. Drilled the first two holes on the inner face of the tunnel top rails which will be used as fixings for my custom gear linkage setup- broke 2 drill bits in the process, which called for an emergency trip to Focus DIY! £2.49 for 1 drill bit- ouch, won't be going there again. My plan for fixing the gear linkage mounting plate was to use rivnuts to enable easy removal in future- oh what a mistake! I didn't check that the rivnut tool would phsically fit to enable me to fix the rivnuts, and of course when it came to that stage, it was too big. So now I had 2 great big 6mm holes which were good for nothing. I had a few futile attempts at fitting the rivnut with 'unconventional' methods, then pulled my hair out some more whilst trying to come up with 'plan B'. In the end I decided conventional riveting using the large rivets destined for the floor panel would work (and yes, the rivet tool would fit this time), so I drilled a further two holes and, hurrah, fitted the plate in place, and then fitted the gear lever mechanism to the plate. I then spent a minute or two 'practising' changing gear (despite the fact that the gear lever wasn't connected to anything at all...) before calling it a day.
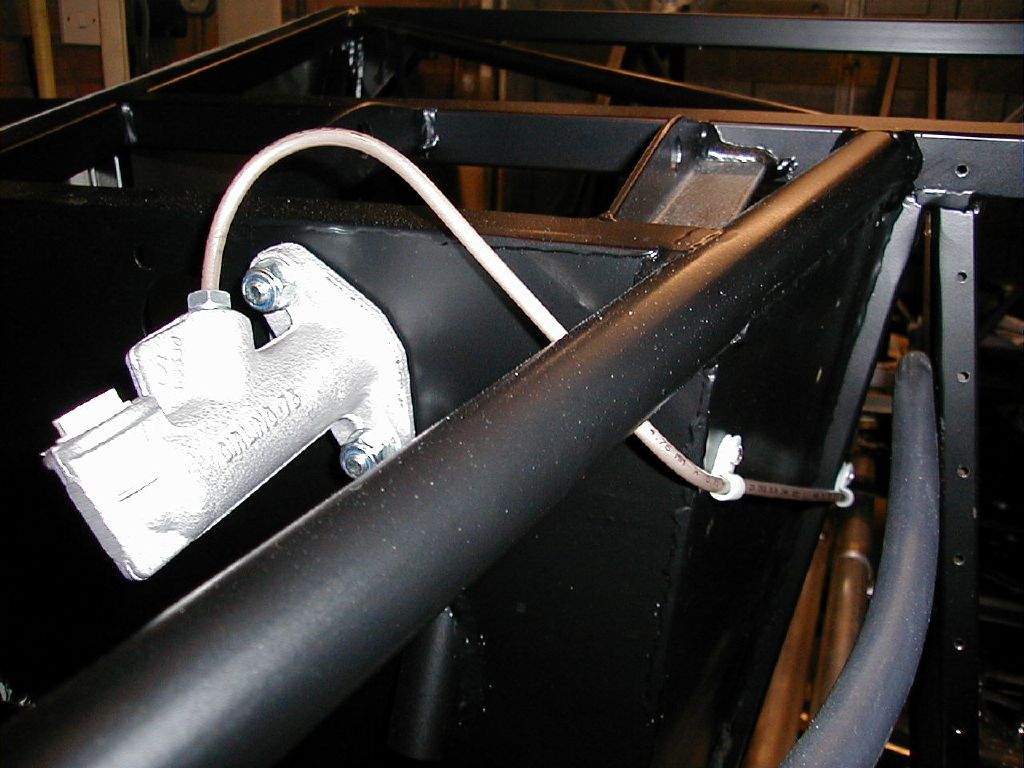
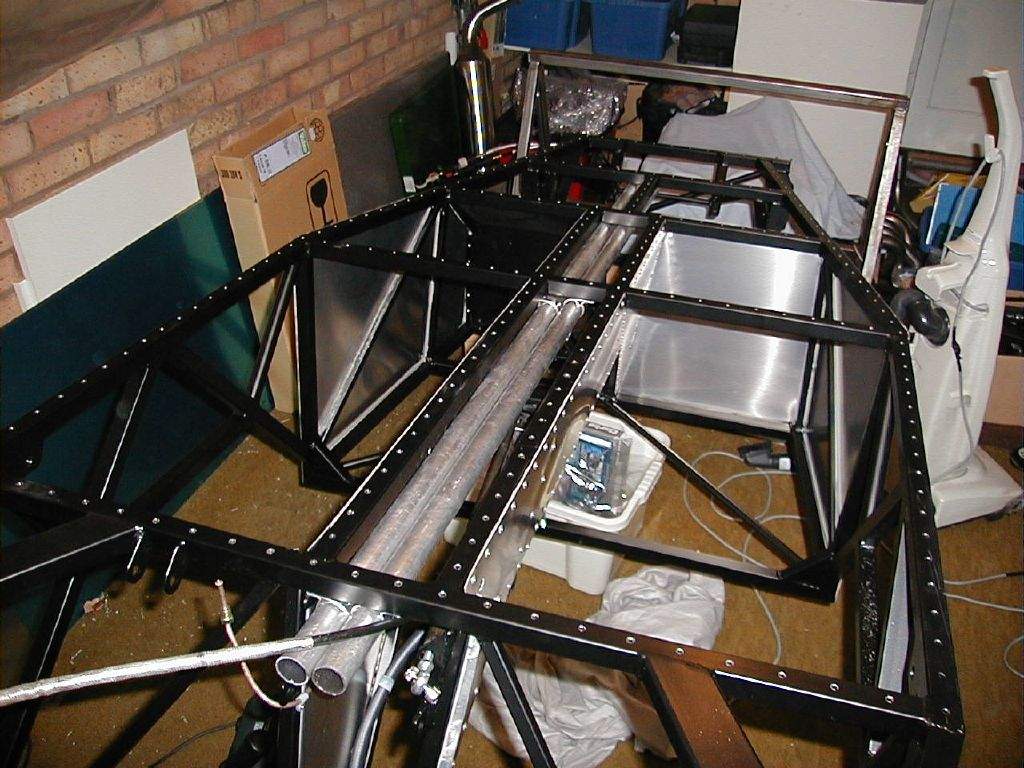
23rd October: 1h30m: Centre-punched the driver's side tunnel panel, then clamped it in place and began drilling through and into the chassis rails. New 4mm drill bit didn't last long, blunting after about 40 holes, so have to give up. I'm going to stock up on plenty of 4mm bits to avoid future frustration! 24th October: 6h00m: Equipped with some new drill bits, I finished drilling the driver's side tunnel panel, then de-burred ready for fixing. Before finally fixing these side panels, there were some more jobs to do in the tunnel (sounds like the Great Escape!). I fitted the master cylinder for the rear brakes and then began bending the rear brake line into shape. I wanted to make a neat job of this, so took some time getting the straight runs 'straight' and forming smooth bends. I ran the line along the inside of the right-hand top tunnel chassis rail, secured using P-clips riveted in place at approx 200mm intervals. The rear T-piece / brake pressure switch will be fitted just to the right of the tunnel on the bottom chassis rail in the engine compartment. I then ran the fuel line through the tunnel on the opposite side to the brake line. I've opted to use rubber hose all the way through. This was P-clipped in position, taking care not to interfere with the handbrake lever and mechanism. Update: The fuel line was later replaced for a solid line using copper microbore central heating pipe- see Diary entry for May 2004 for full details.
Finally, I felt the urge to rivet my first panel into place. Although not strictly in the order suggested in the build manual, I decided that I could safely fit the driver side outer footwell panel (I still need full access to the tunnel for another job or two), so applied a bead of car body sealant to the chassis members that the panel will fit against, offered up the panel and pushed the rivets into position. Then I got 'popping'!
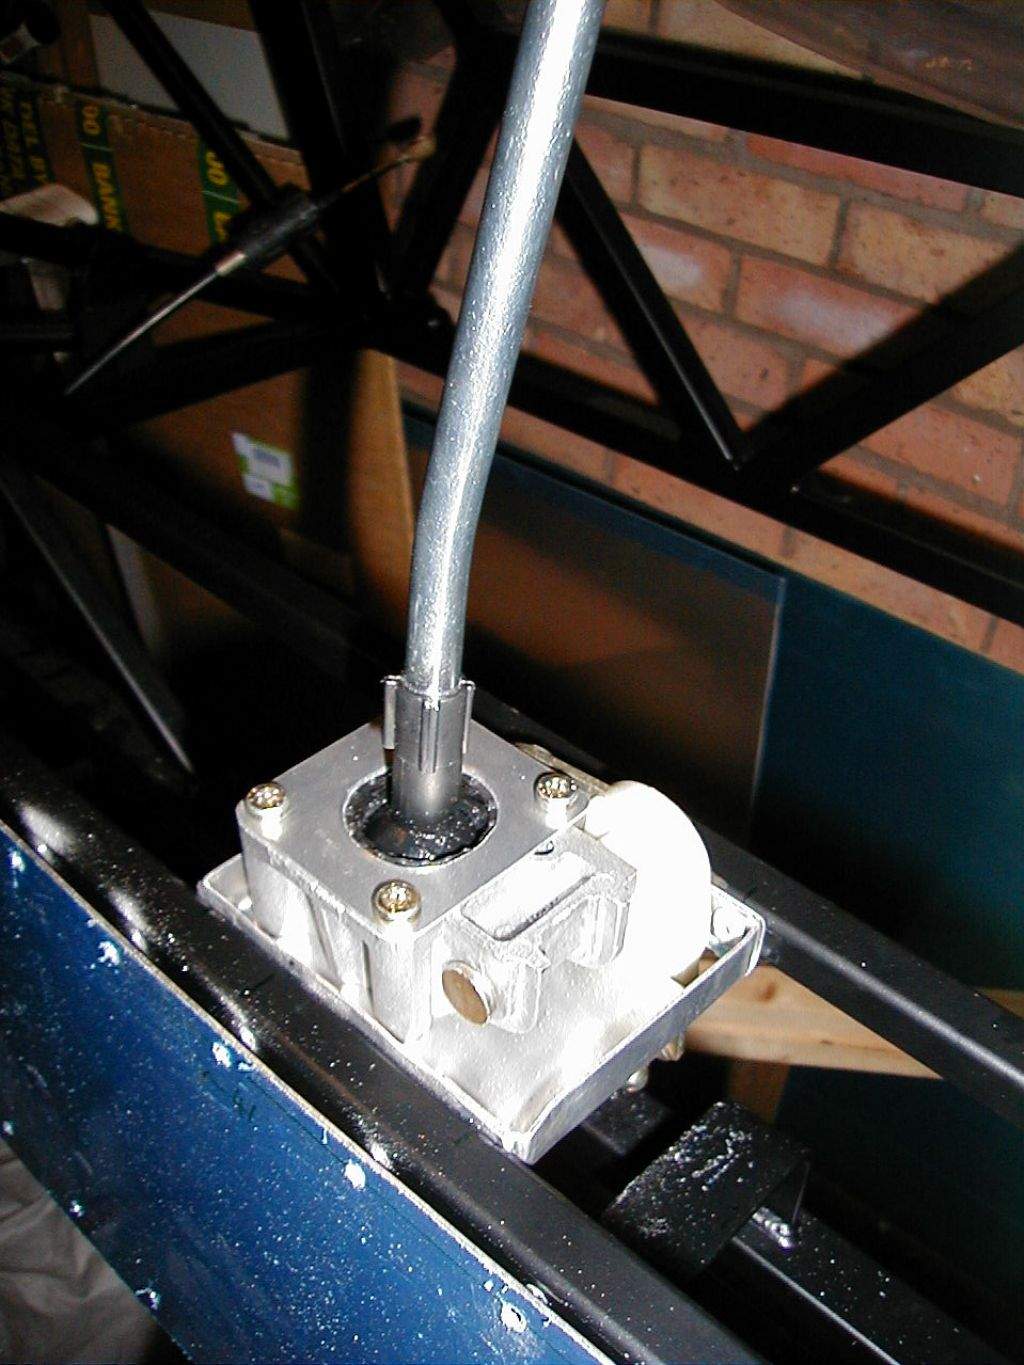
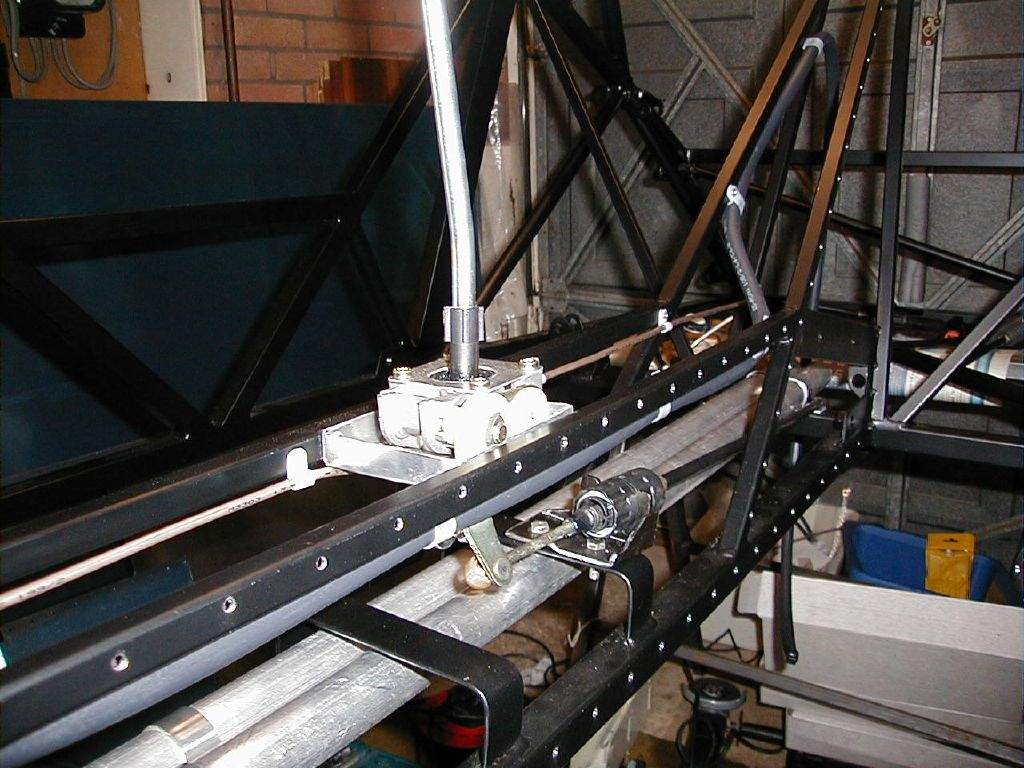
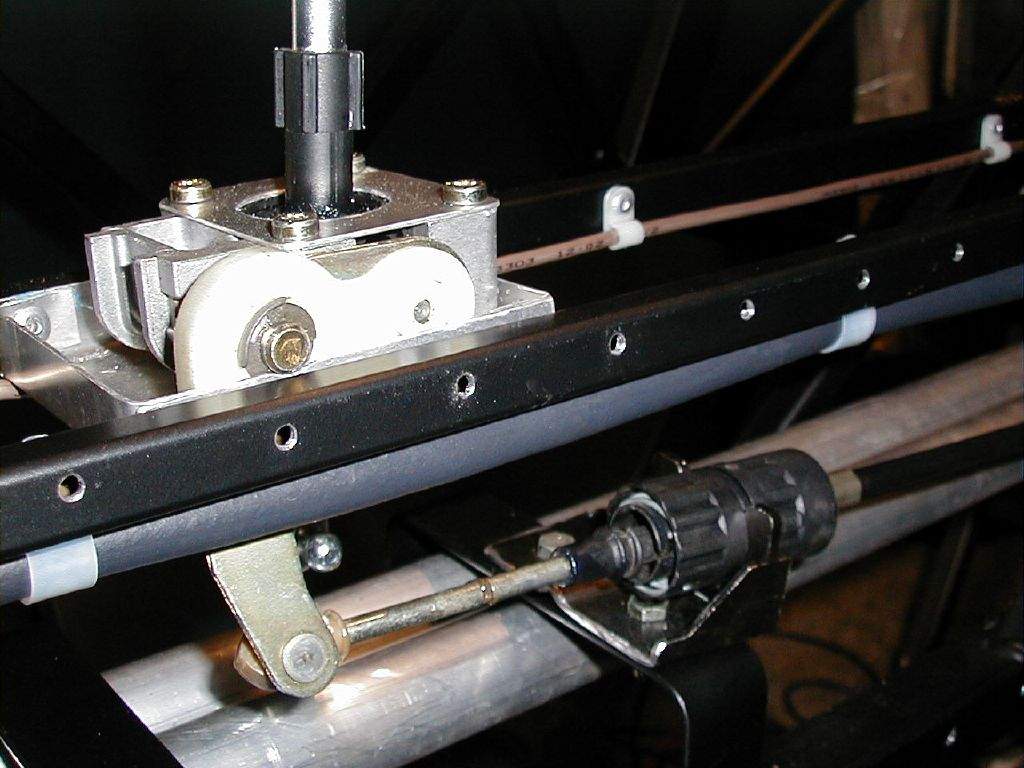
26th October: 6h00m: Final job in the tunnel for now was to sort out the cable stop for the gear linkage. The Focus-based linkage I'm using will translate the fore-aft motion of the gear lever to the gearbox using a rod, whilst the left right motion of the gear lever is translated to a push-pull motion on a cable. I used an angle grinder to chop down the huge original steel bracket from the Focus, to give a neat cable stop that I then drilled and bolted to the plate in the tunnel.
Although quite a few more bits and pieces will have to be routed through the tunnel (heater hose x2, throttle and clutch cable, loom…) I decided that these will not need to be fitted as securely, so I'll be able to fit these through the removable tunnel-top easily enough. Before fitting the panel to the tunnel I drilled a hole to correspond with the harness mounting point in the chassis. Then I carried out the panel-fixing procedure as before- sealant then rivet. Unfortunately one slip of the rivet gun resulted in a bit of a scratch on the panel. I was MAD! Maybe it'll improve with some fine wet & dry paper followed by a polish, but this car is all about driving after all, so I'm sure I'll soon forget about it! Hopefully…
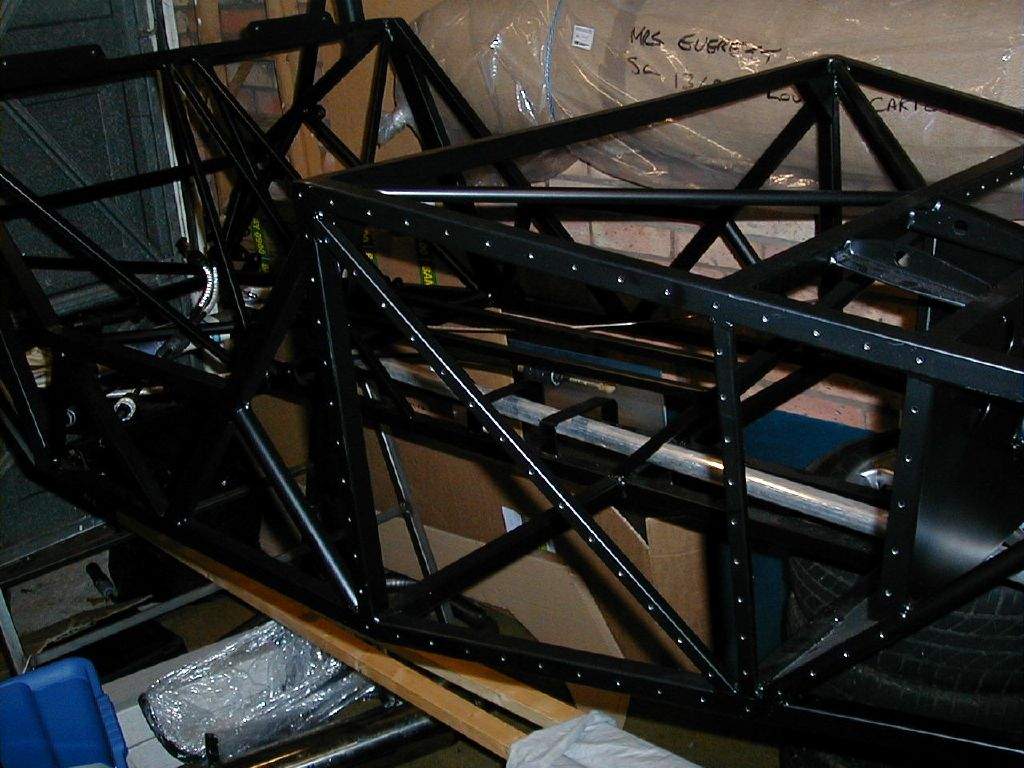
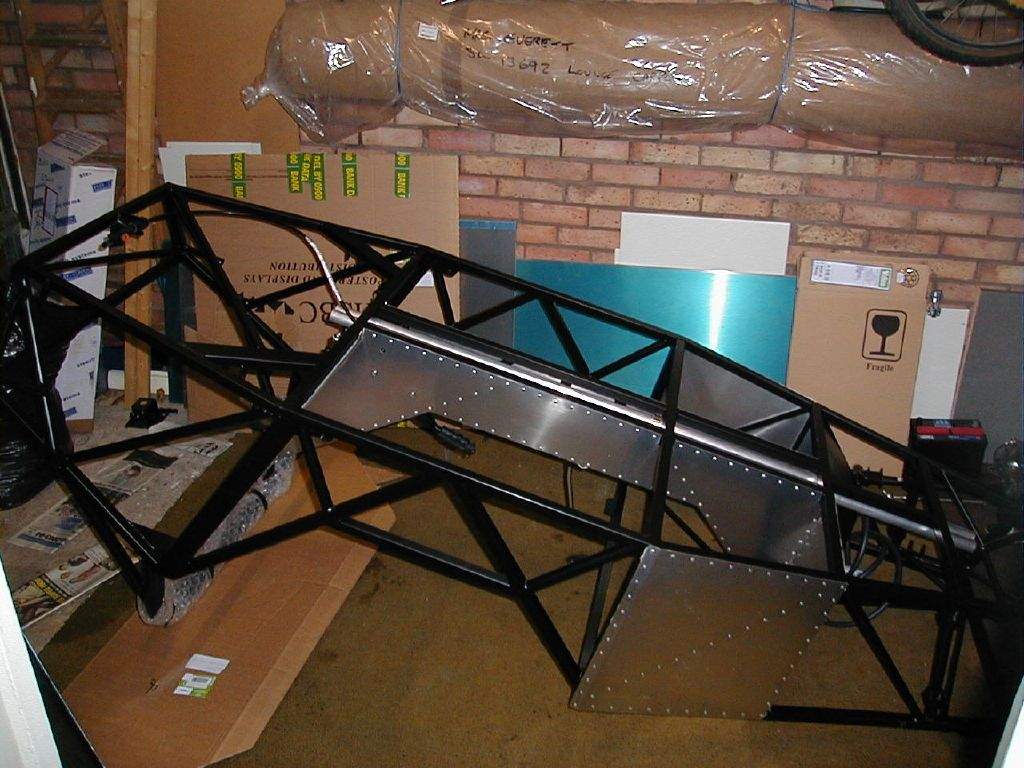
27th October: 1h30m: Riveted the passenger side tunnel and footwell end into position. At this stage I ran out of rivets, so a shopping trip was called for! I reckoned I would need at least another 400 rivets, maybe I missed a bag when I picked up the kit from Sylva. Anyway, no problem, I picked up 1200 rivets for £15- that'll definitely be enough! 28th October: 2h00m: Measured, cut out, centre punched and drilled the passenger side outer footwell panel. 29th October: 2h30m: Riveted the passenger side outer footwell panel in place. Negotiated some assistance from Liz to drop the chassis off the build stands and onto the floor panel, which itself was sat on the floor. Once the chassis was centred correctly, I drew round all of the chassis members with a marker pen, and marked what will be the finished outside edge of the floor based on some dimensions from Sylva. Then I sat in the car for the first time! It now looks very small and low compared with when it was on the build stands. Dragged Liz out to the garage once more to help pull the floor panel out from under the chassis, and then turned the chassis completely upside-down ready for drilling and riveting the floor panel in place.
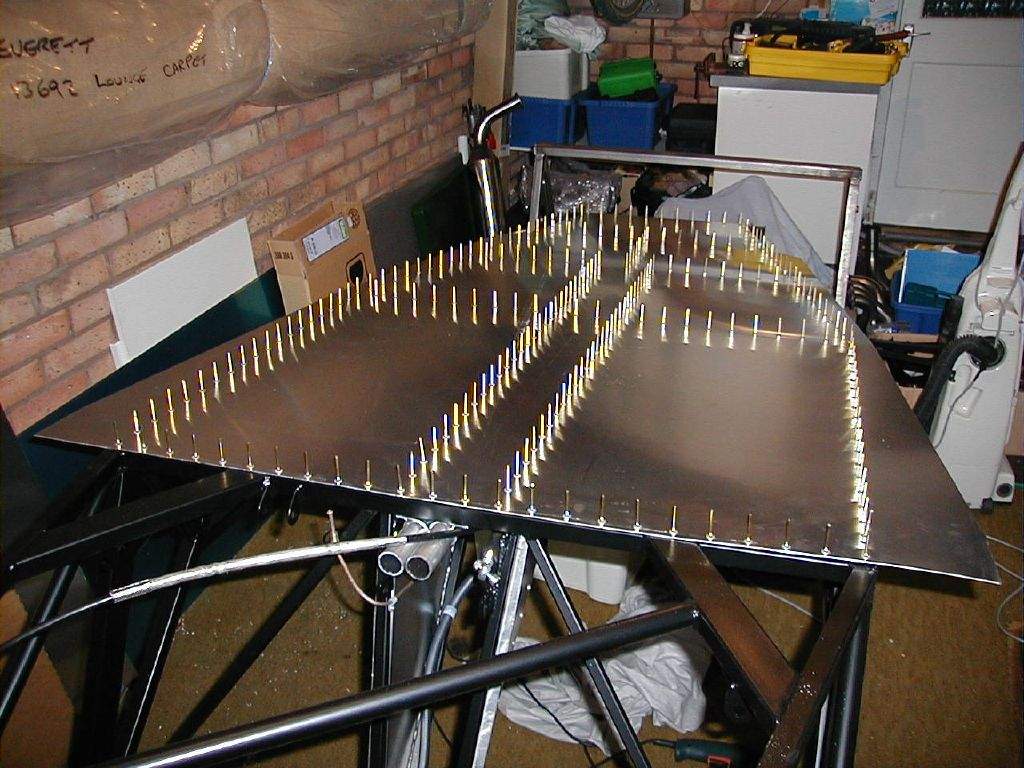
30th October: 3h30m: Drilled some pilot holes into the floor panel, to give a reference when marking out the holes that will be drilled through from the other side. Marked out the hole centres for the rivets, centre punched them and then laid the panel onto the upside-down chassis, and began drilling... After about half the holes, my arms were getting very tired, so I called it a day. 31st October: 3h30m: Finished drilling the holes, then de-burred them. Decided I had enough time to tackle the riveting! 2 hours and 2 blisters later I had a finished panel. Phew!
Total time spent during October: 62h45m (Crikey!)
|
|||||||||||||||||||||||||||||||||||||||||||||||||||||||
|
|
|||||||||||||||||||||||||||||||||||||||||||||||||||||||||